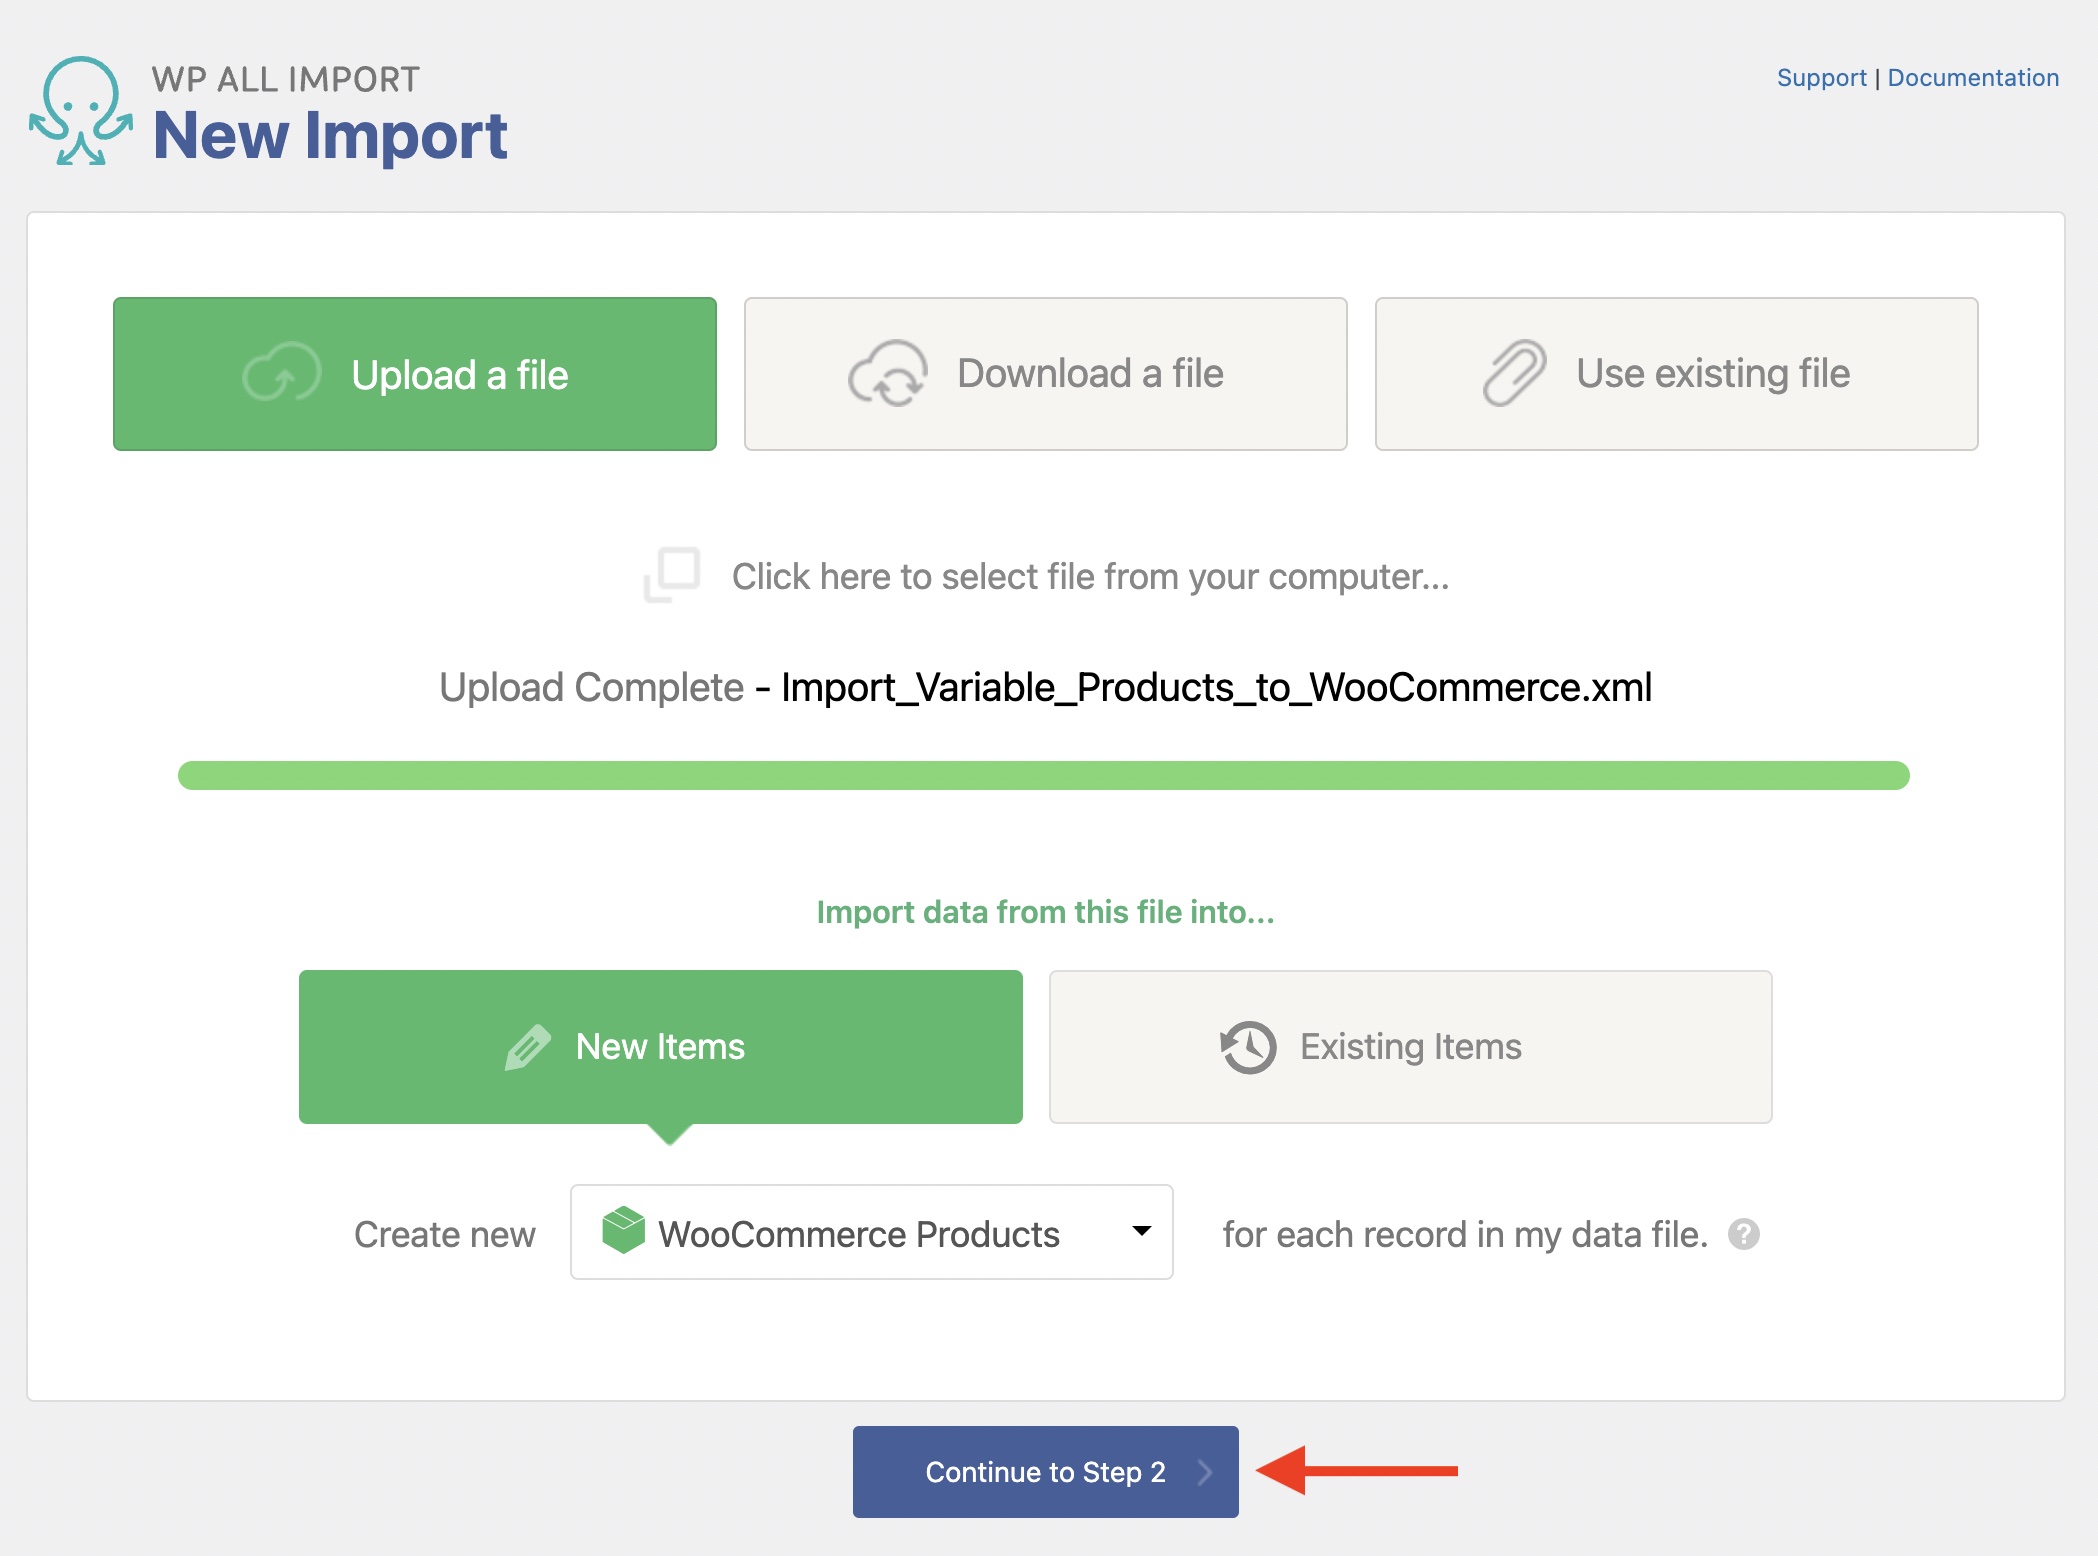
Navigate to All Import › New Import and upload/load/select your import file. In the dropdown list, choose WooCommerce Products and click Continue to Step 2.
The Review Import File screen now appears. Validate that the import data on this screen is correct.
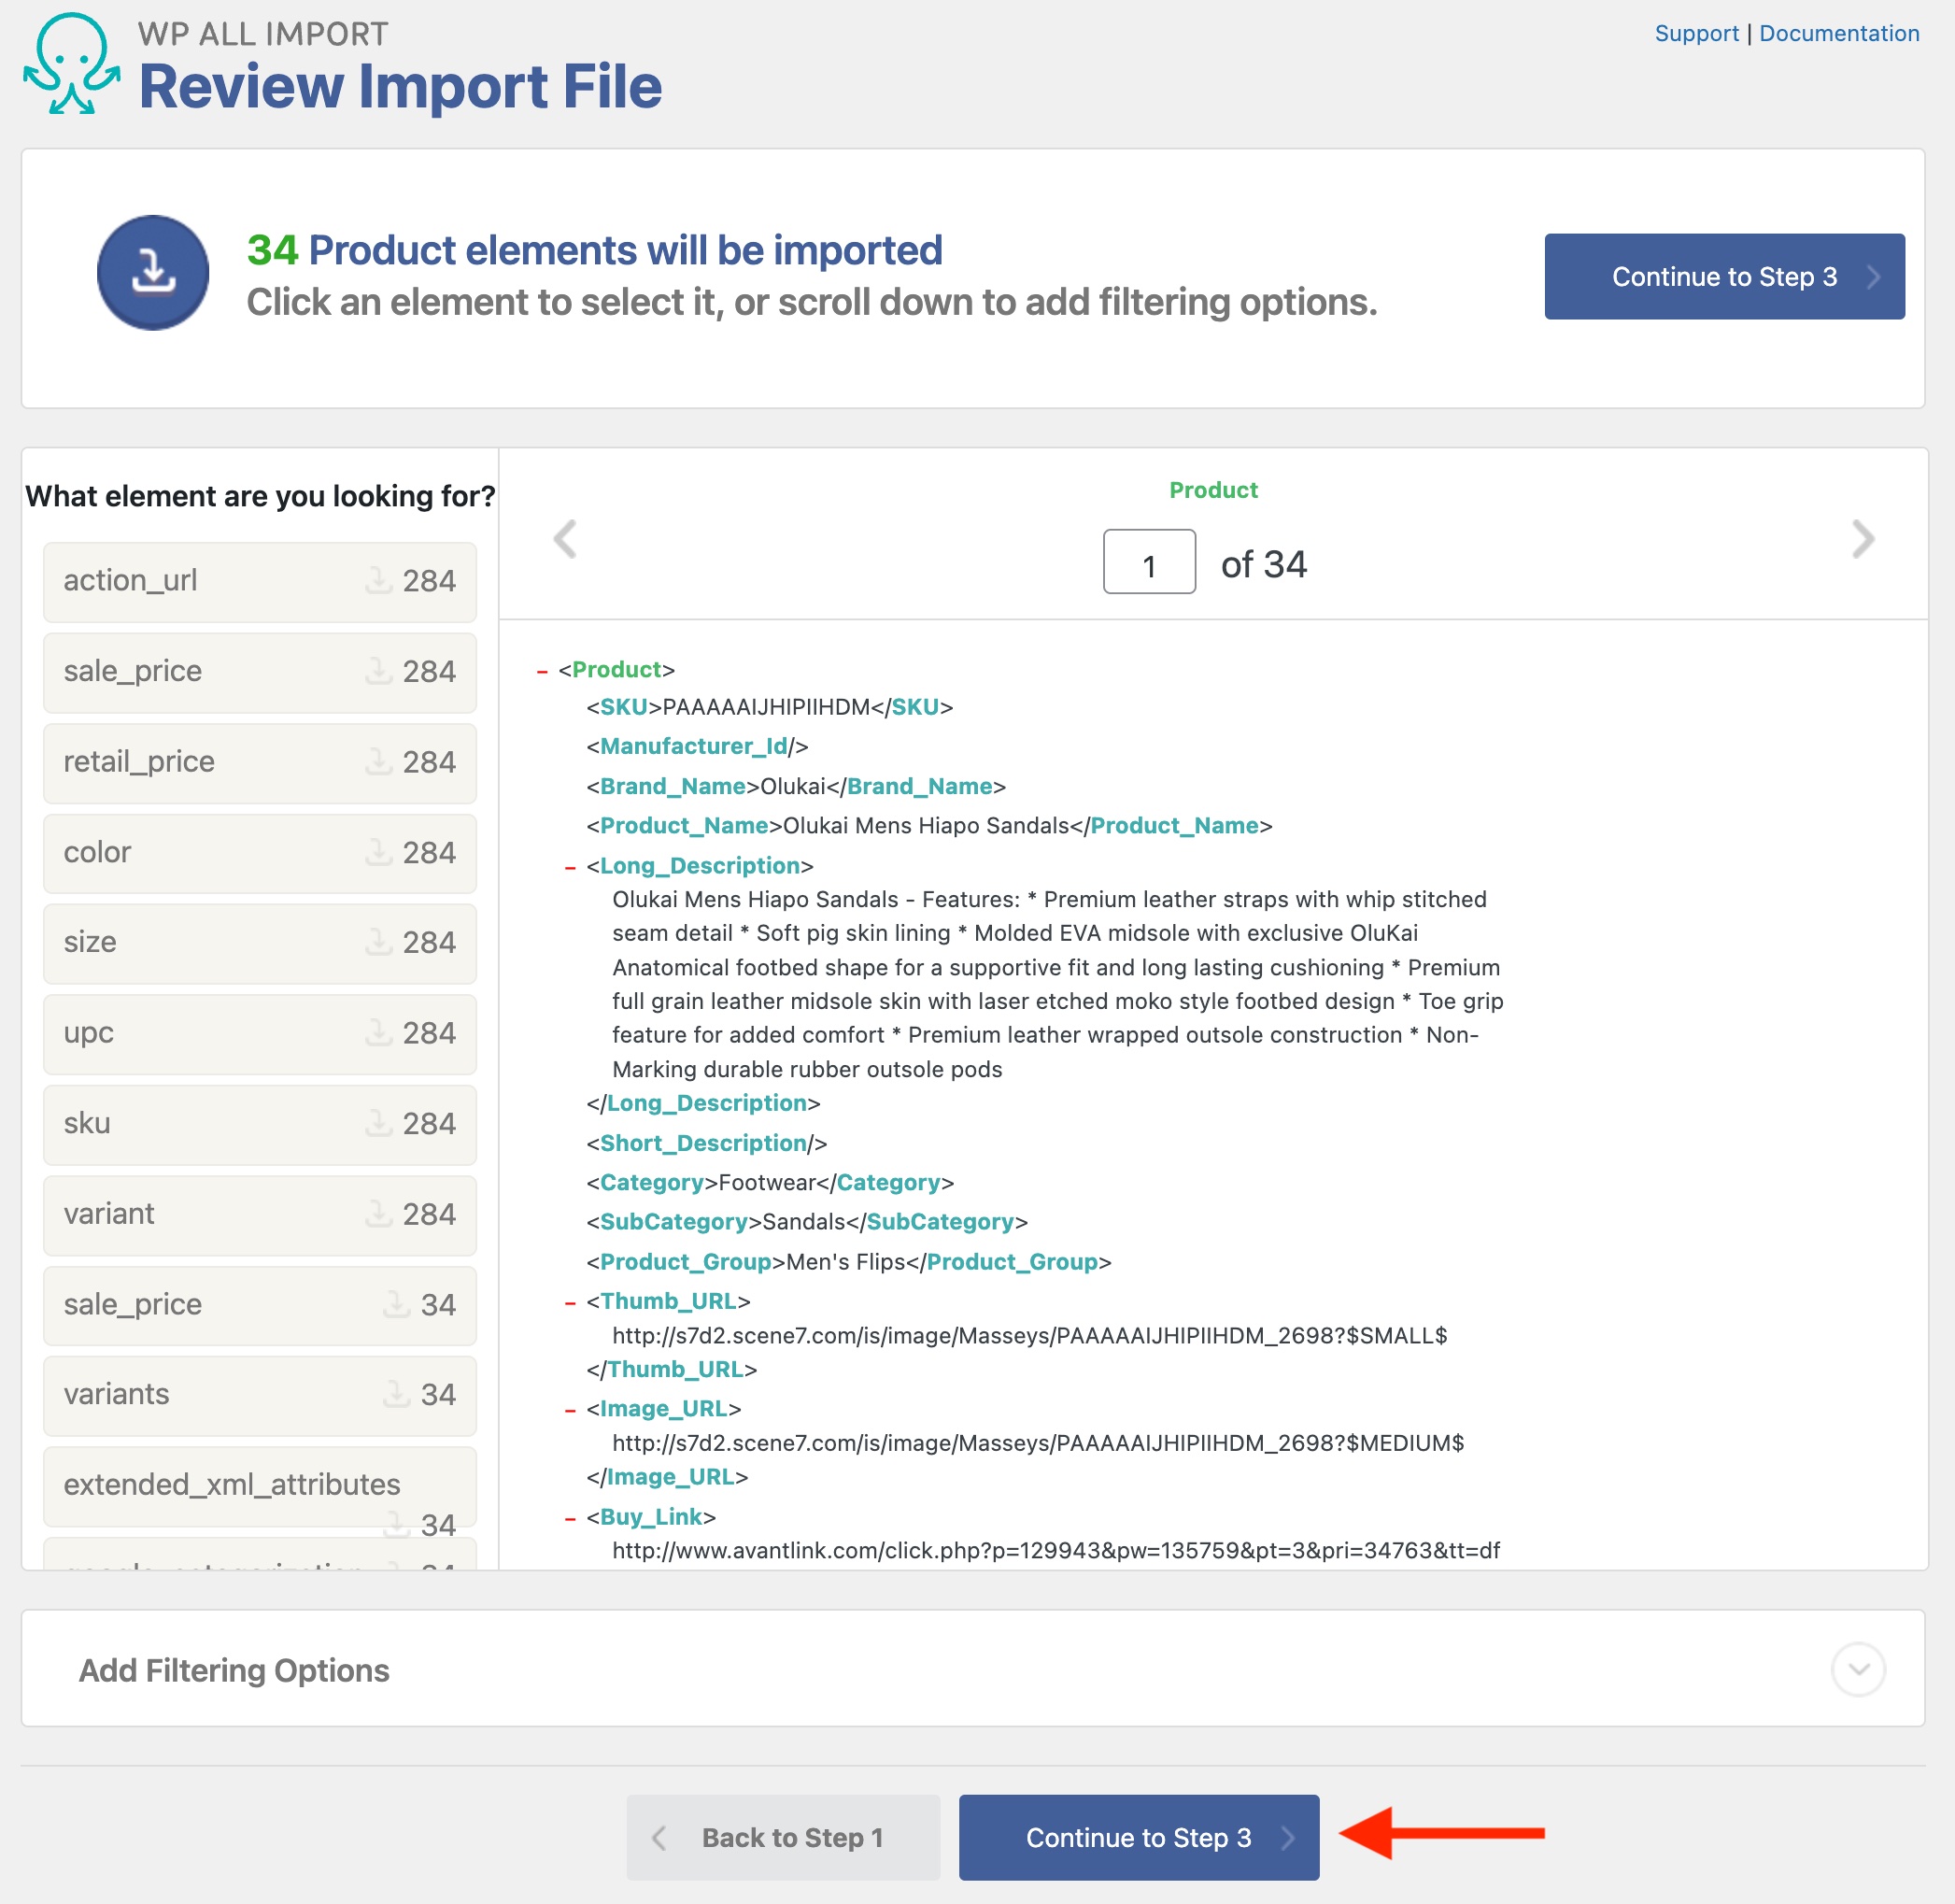
With CSV files, you can change the delimiter used. With XML files, you can select the parent node to use in the import process.
On this same screen, you can add filters using the Manage Filtering Options section. This lets you control which products to import (it uses XPath 1.0).
Click Continue to Step 3 to move to the next step.
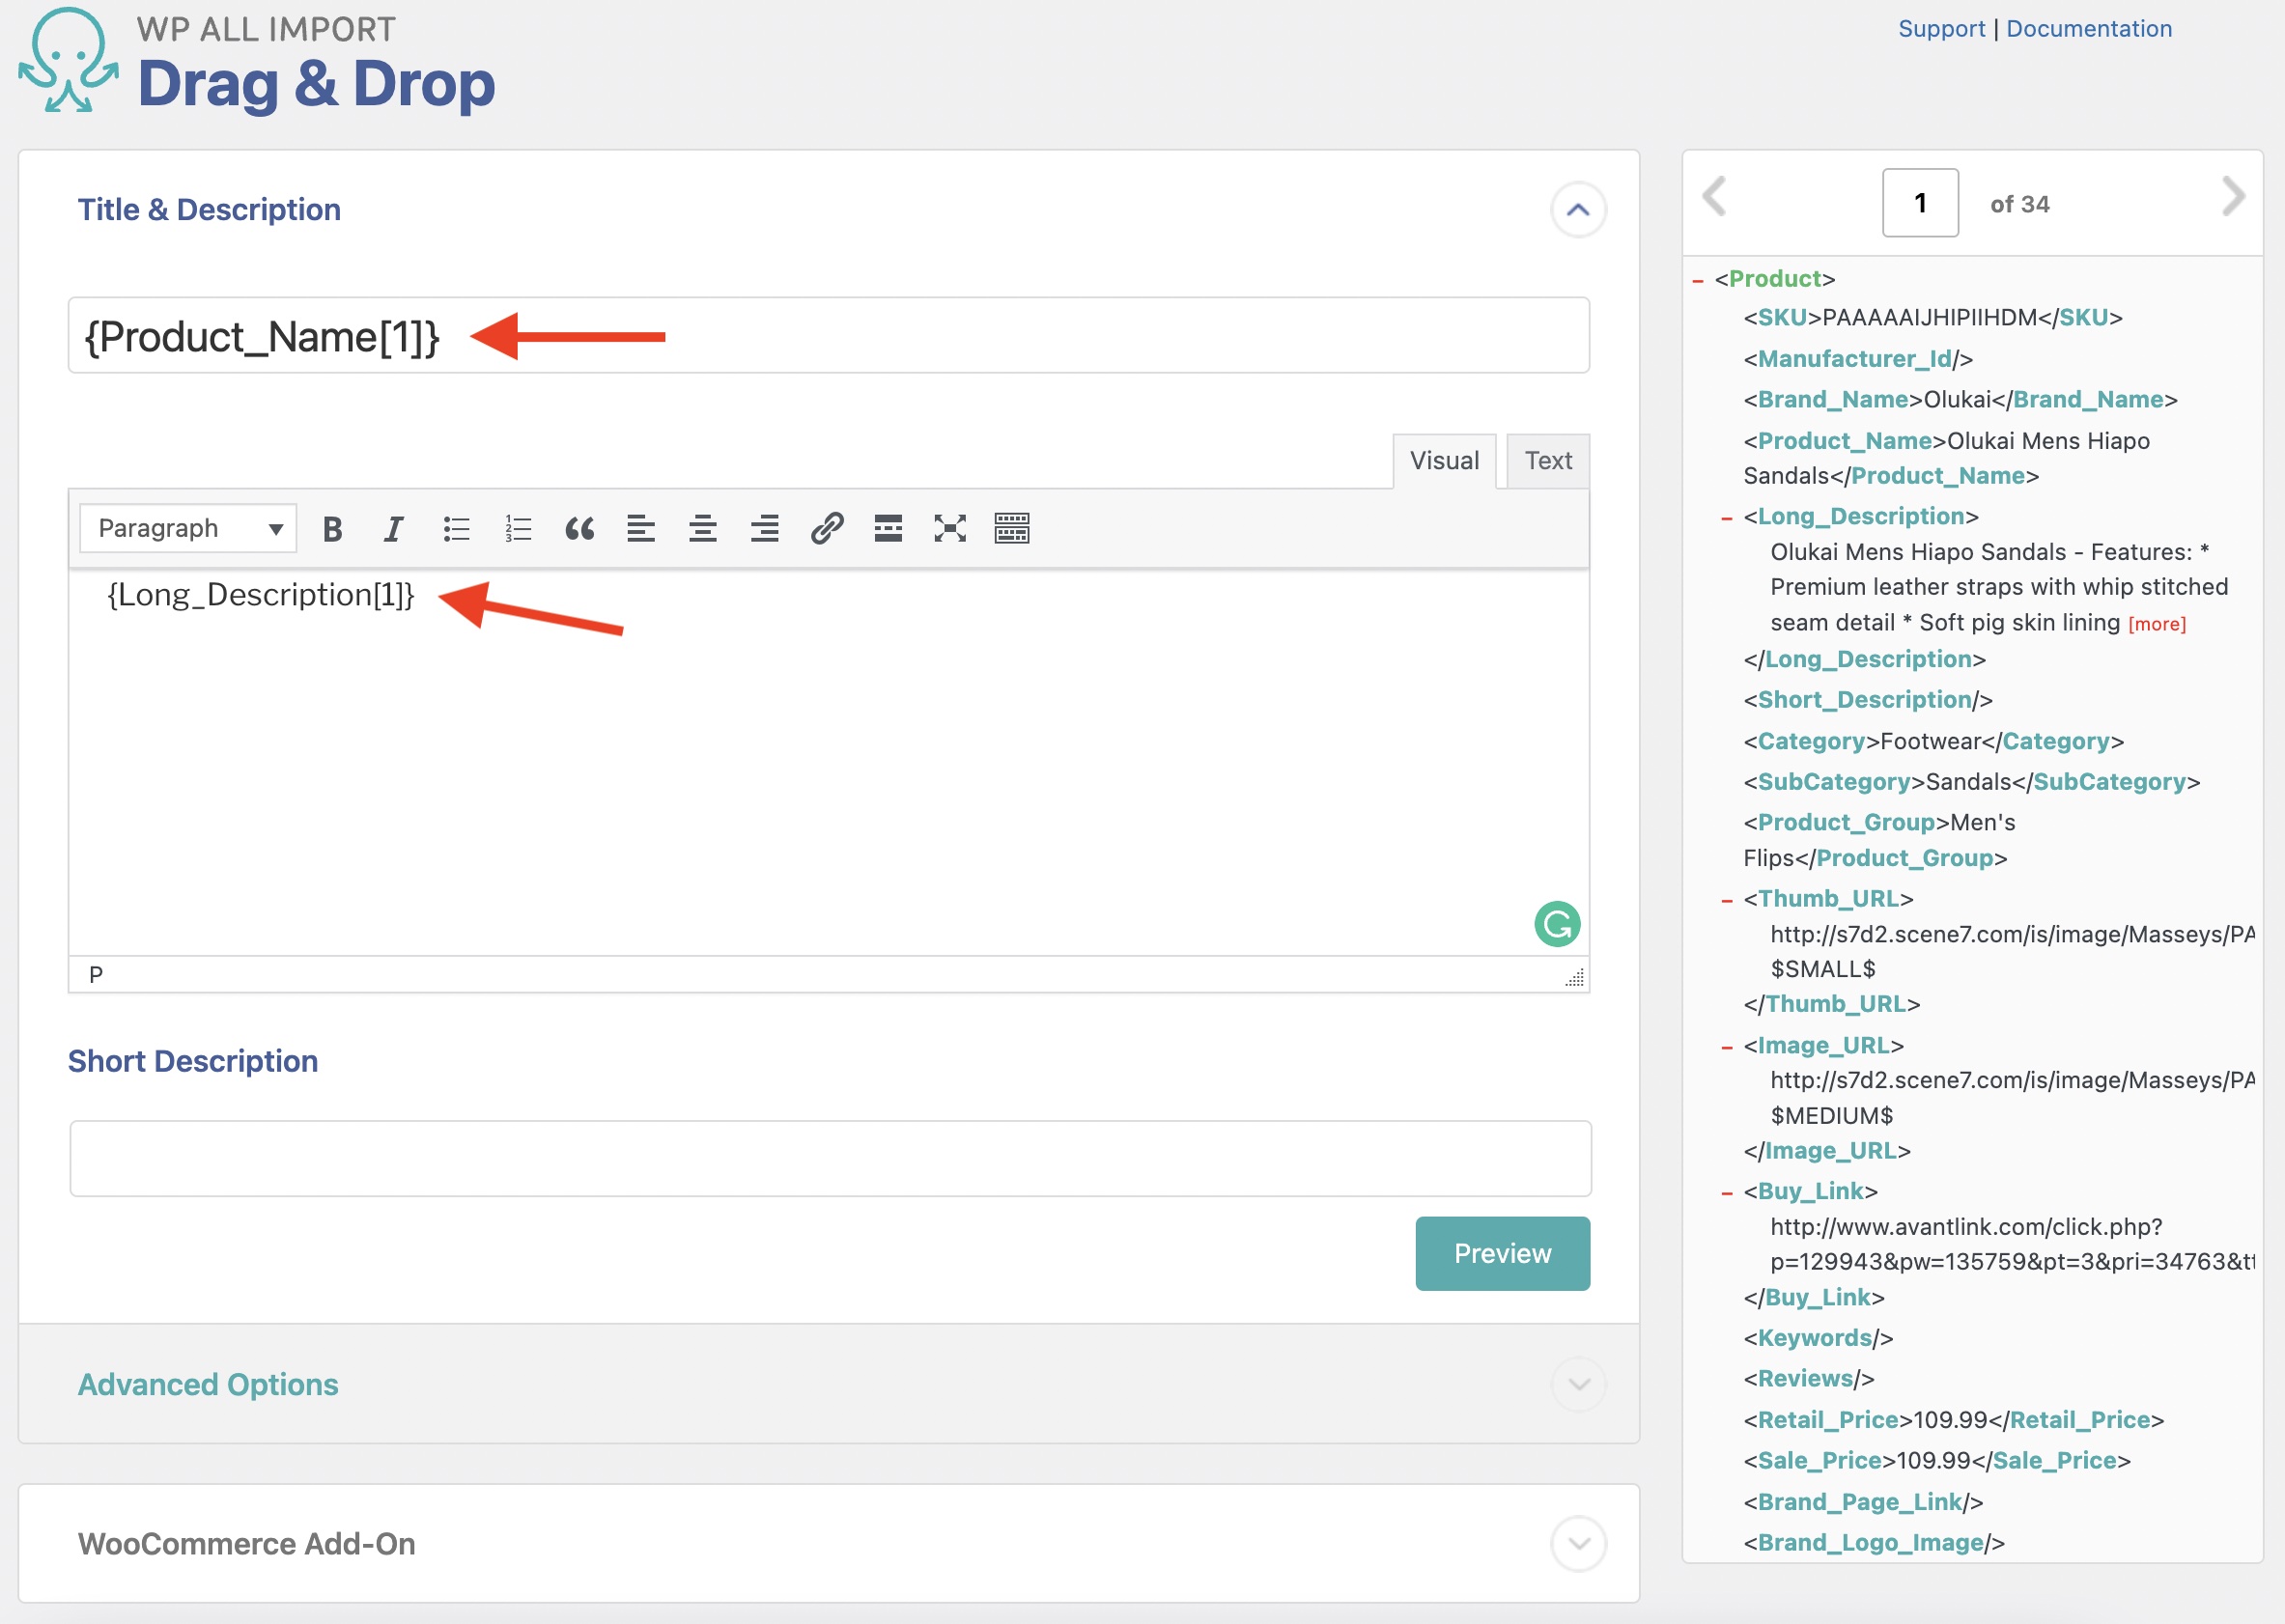
Next up is the Drag & Drop screen, where you can build and configure the template required to import variable products. To map the data, drag and drop the import elements from the right to the appropriate import fields on the left.
First, you map the title and the description for the WooCommerce product:
Expand the WooCommerce Add-On section.
To import variable products, define the Product Type as a Variable product in the dropdown list near the top.
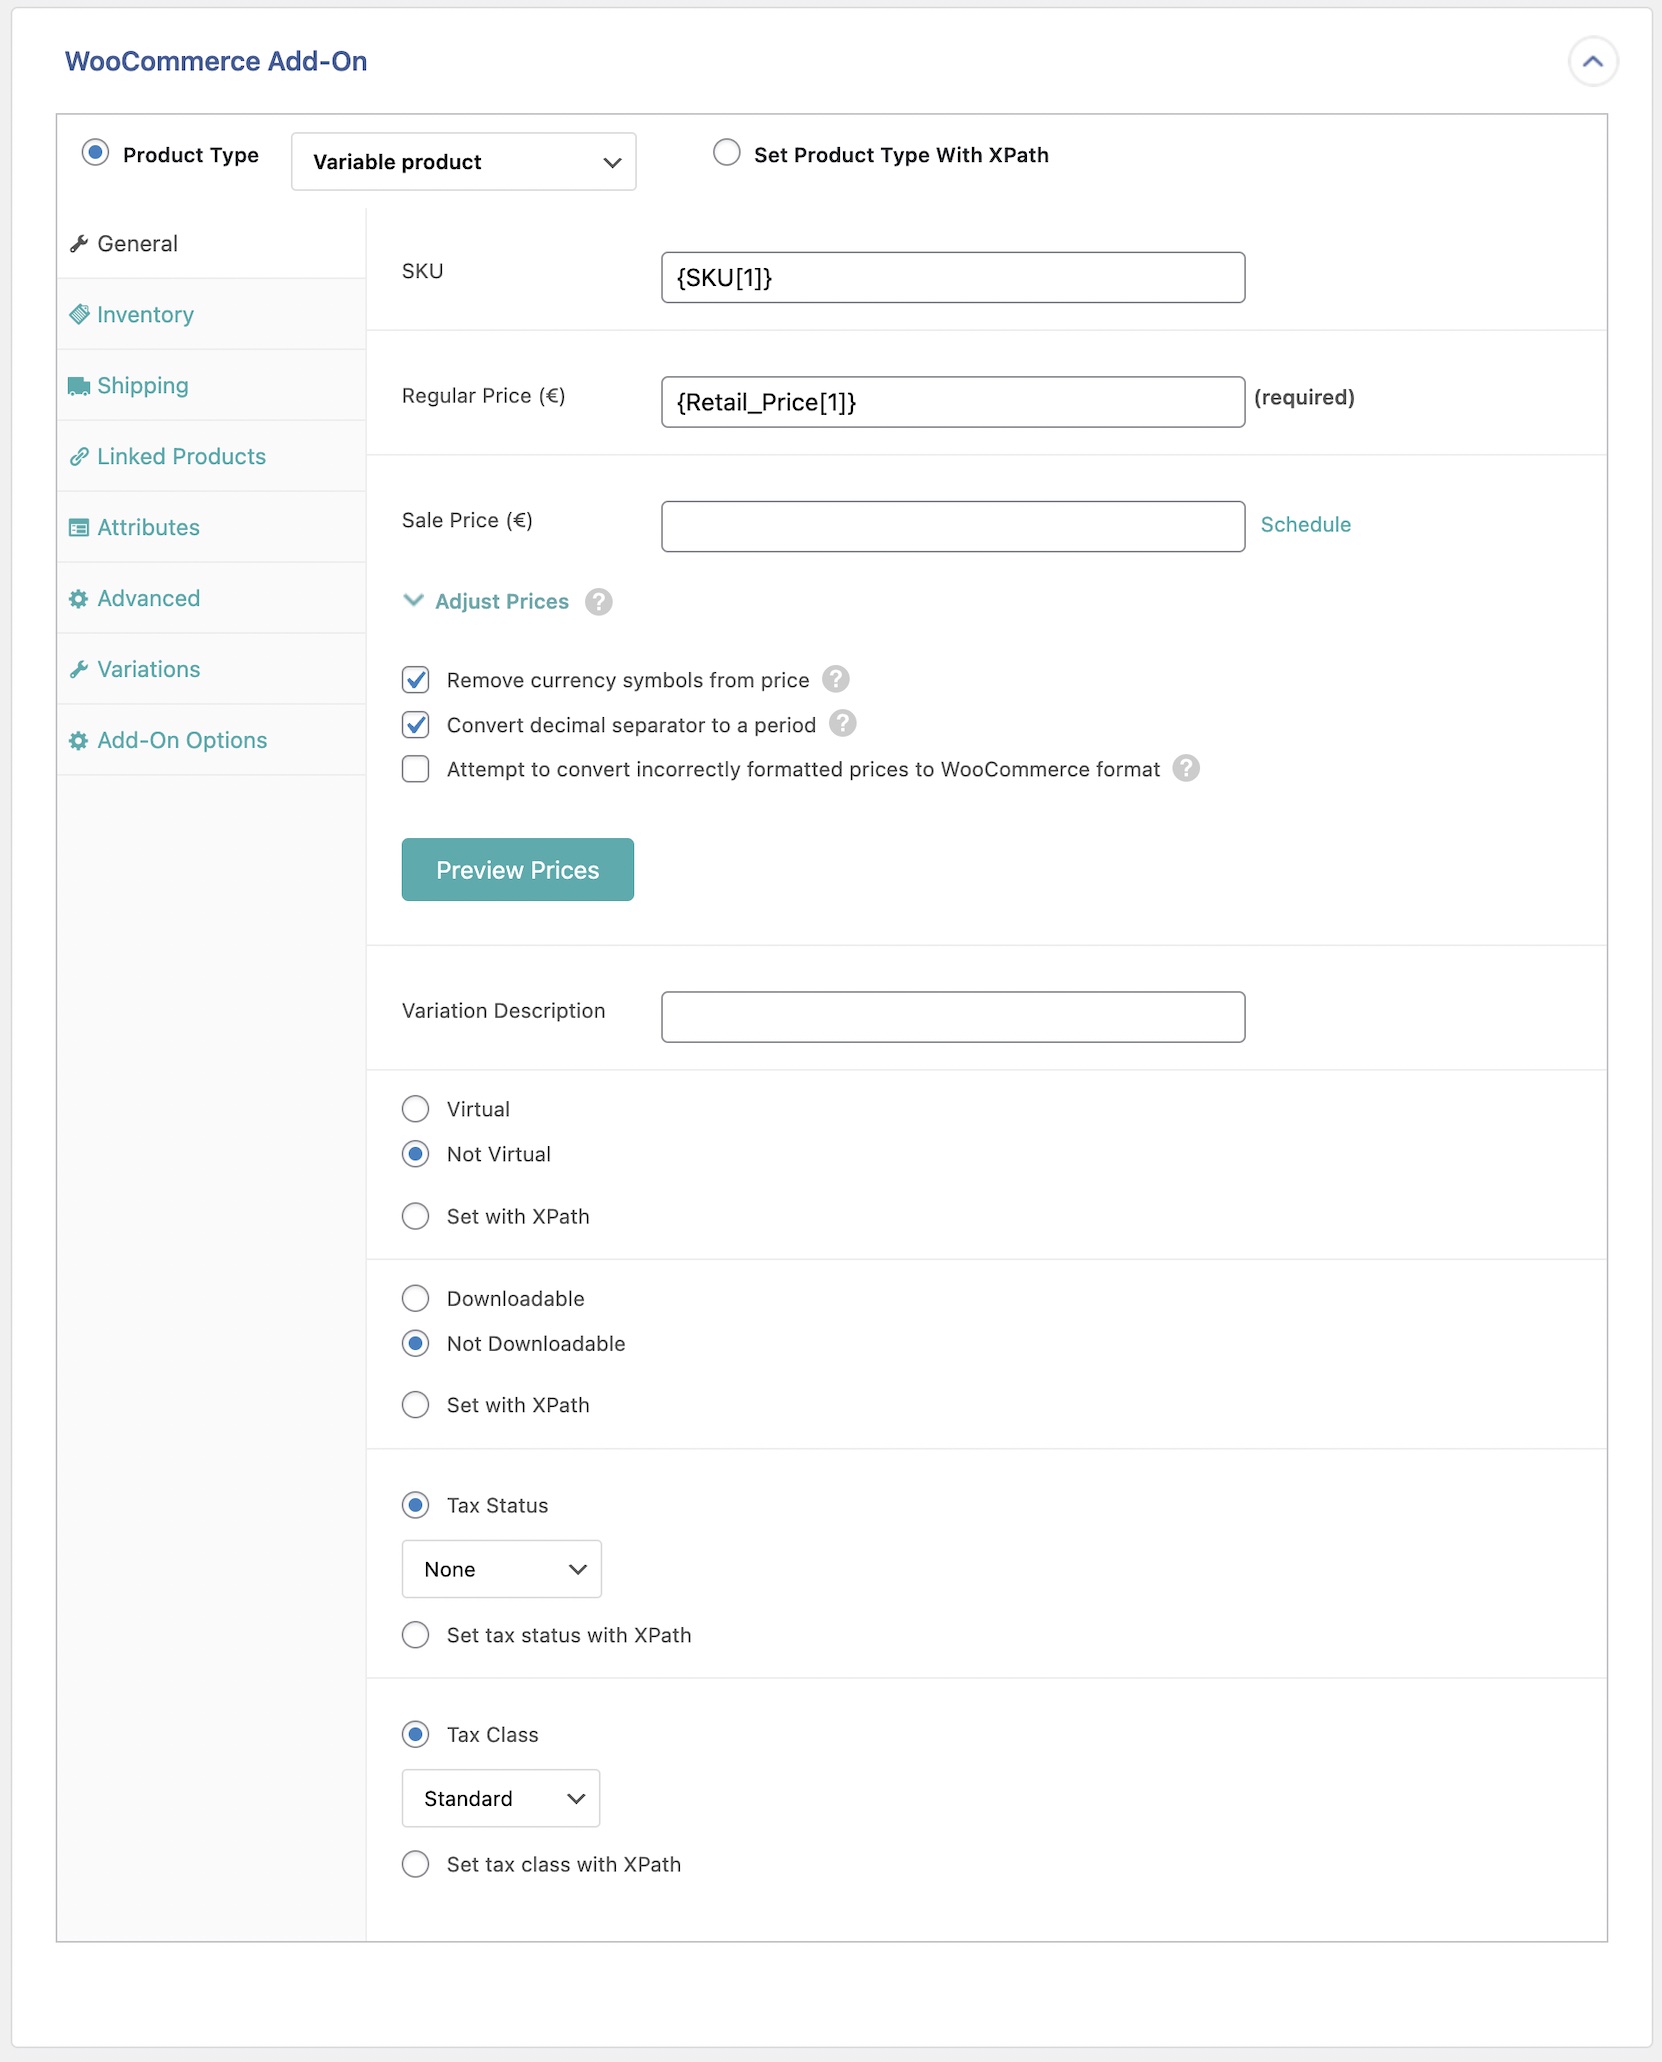
Then, you must configure these three tabs:
To learn more about the other tabs available for WooCommerce products, see: Map Incoming WooCommerce Data.
The Attributes tab allows you to import variable product attributes, which you can use to create variations or sort products. You can add as many attributes as needed, select whether they are used for variations, etc.
Attributes are those things that users can change to choose the variation they want. Each attribute can have multiple possible values. Users select these values to choose the particular variation they want to purchase. For example, a T-shirt can have Color and Size attributes.

In the example above, the two attributes are Size and Depth. Attributes are set up on the Attributes tab of the WooCommerce Add-On section.

If you need to match with an existing attribute, you can use the attribute slug instead of the name, and WP All Import will attempt a direct match with any existing attribute with that slug.
If your file has many types of variable products with different attributes — for example, the T-shirts in your file have Size and Color attributes, and Posters have Canvas Size and Depth attributes — just configure all the attributes in the plugin. The attributes will be ignored if they don’t exist for a particular product in your file, so you won’t end up with T-shirts with Canvas Size and Depth attributes or Posters with Size and Color attributes.
Some attribute names are reserved. For example, you can’t use "Type". If you can’t use a certain attribute name inside of WooCommerce, you can’t use it inside WP All Import either.
Below, we detail the different ways to set up the Variations tab.
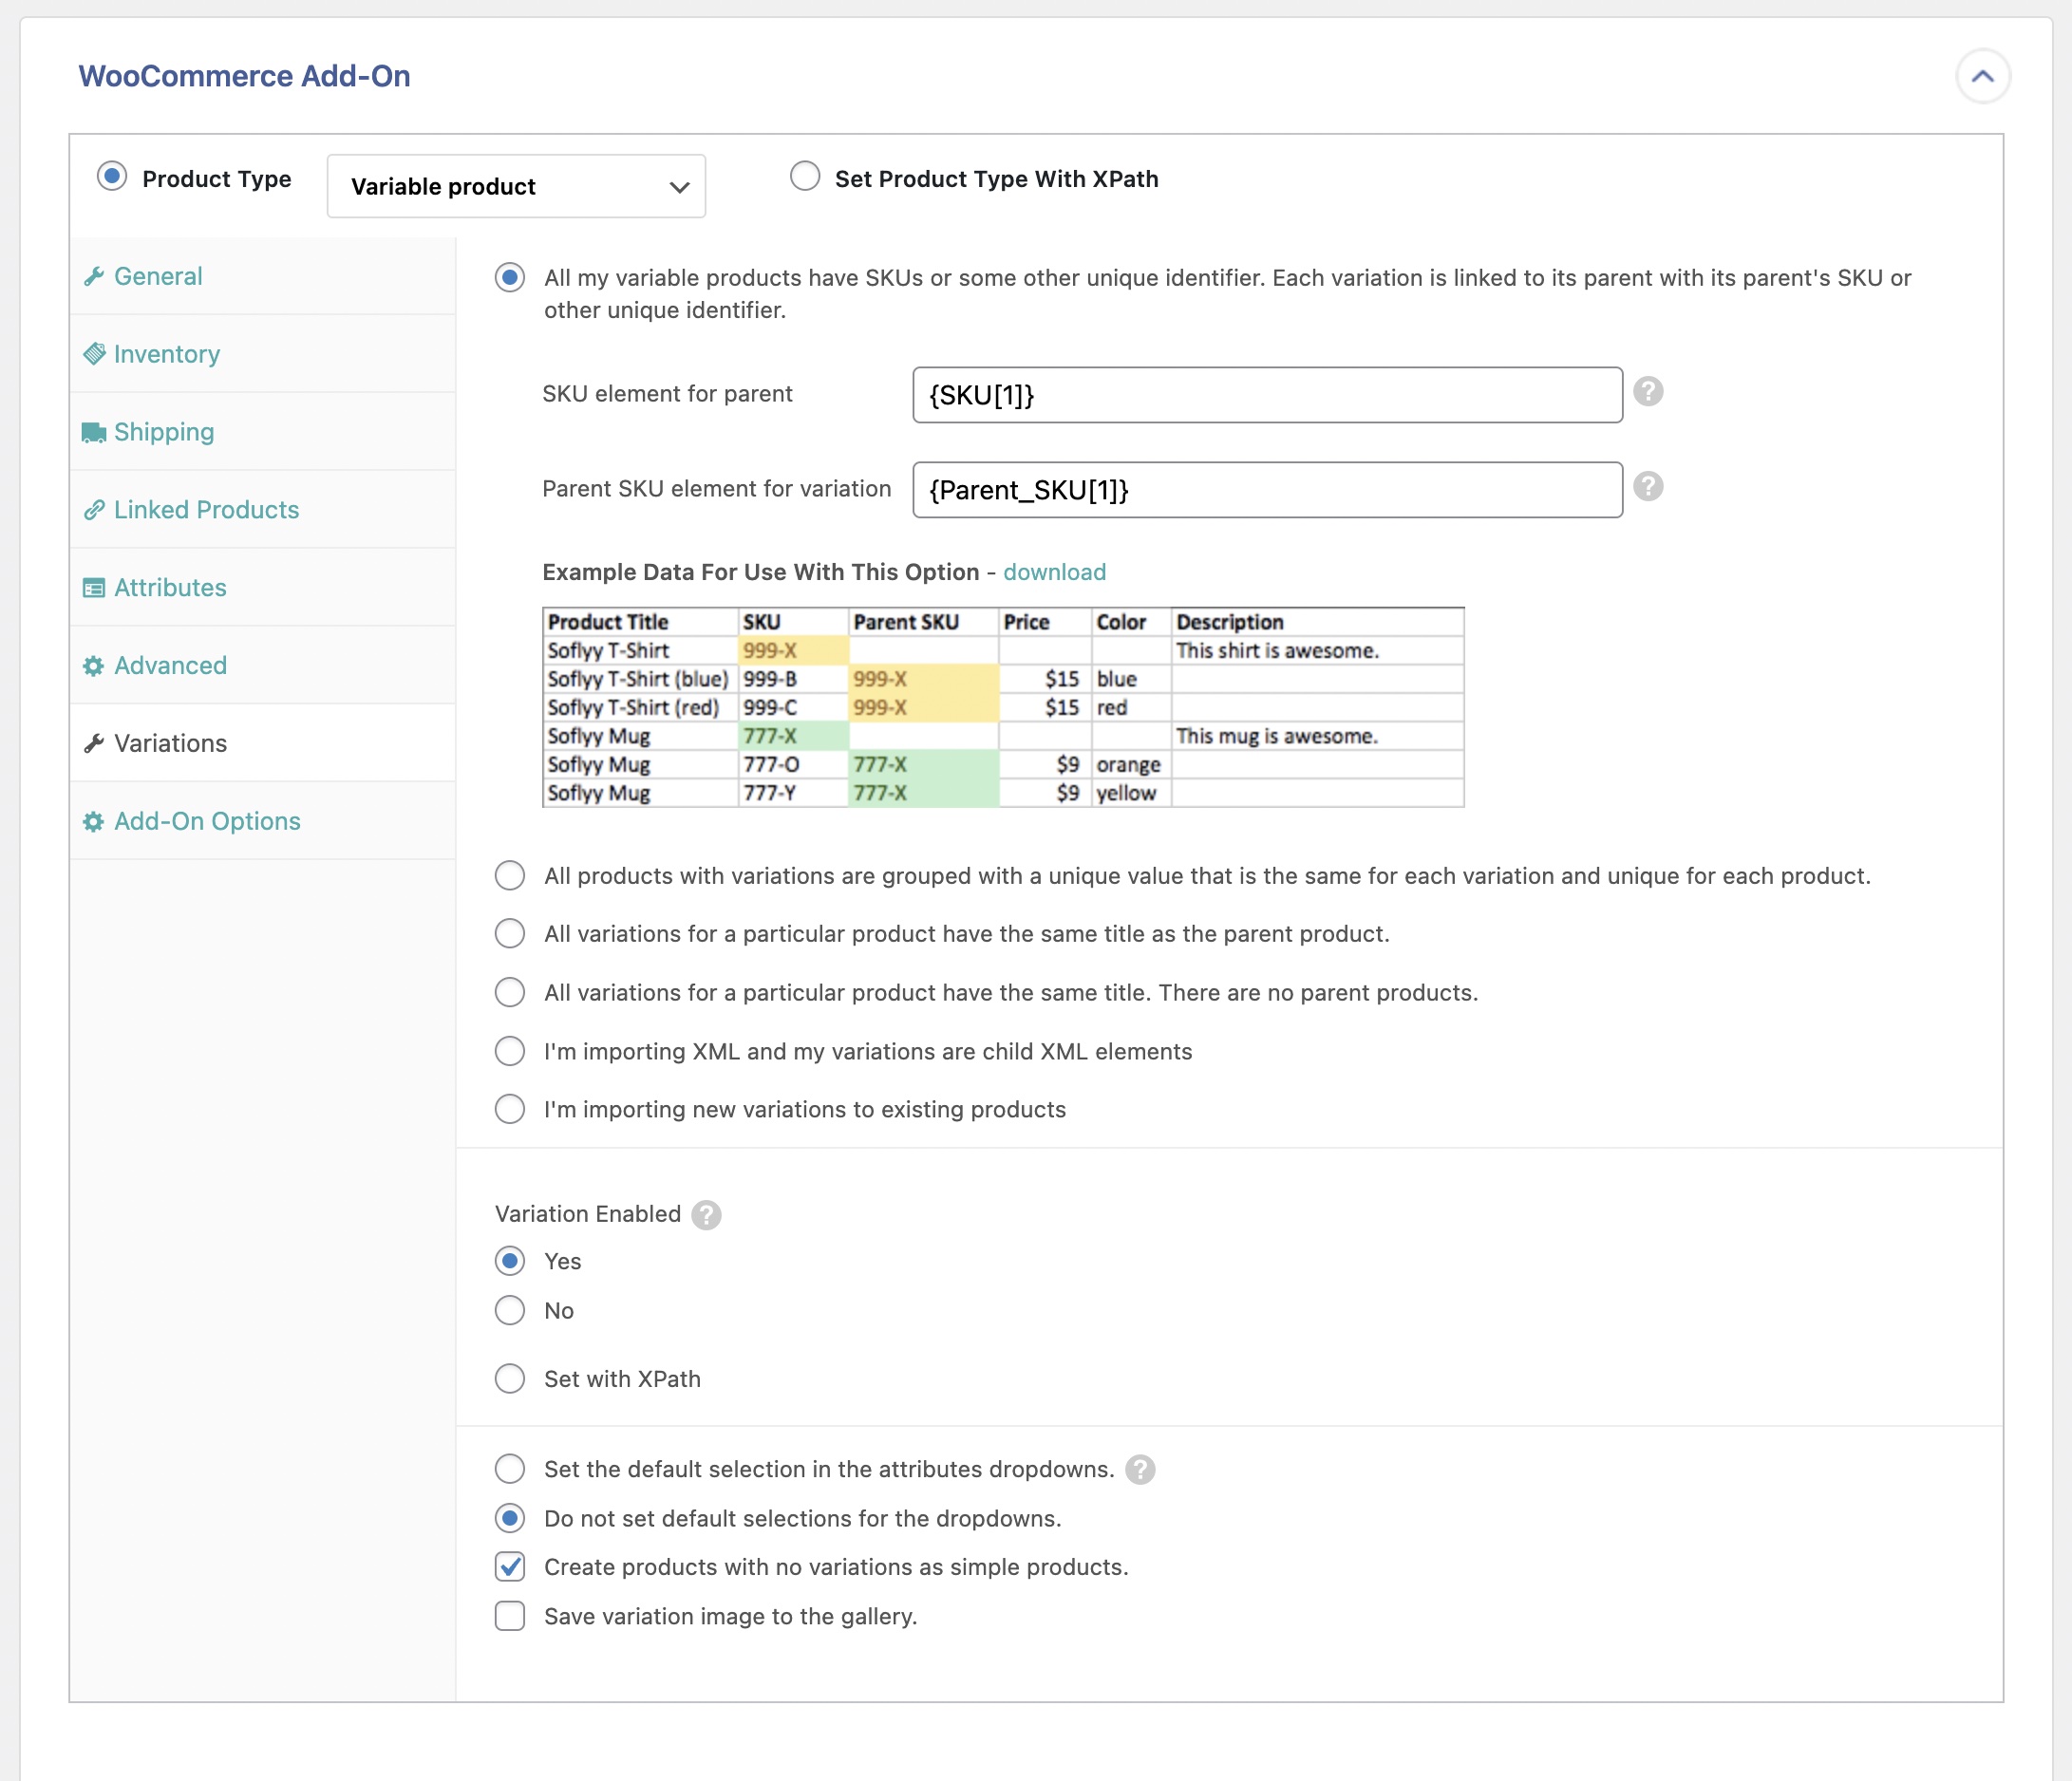
WooCommerce stores a variable product as a single-parent product with multiple child variations.
For example, a T-shirt might have three child variations — Small, Medium, and Large.
You can import XML, CSV, or Excel files containing parent products with child variations. You can also import files that only contain product variations with no parent products.
On the Variations tab of the WooCommerce Add-On, you specify how to group multiple product variations into a single variable product. Typically, for CSV files, you’ll have one product variation per row, and for XML files, one product variation per record.
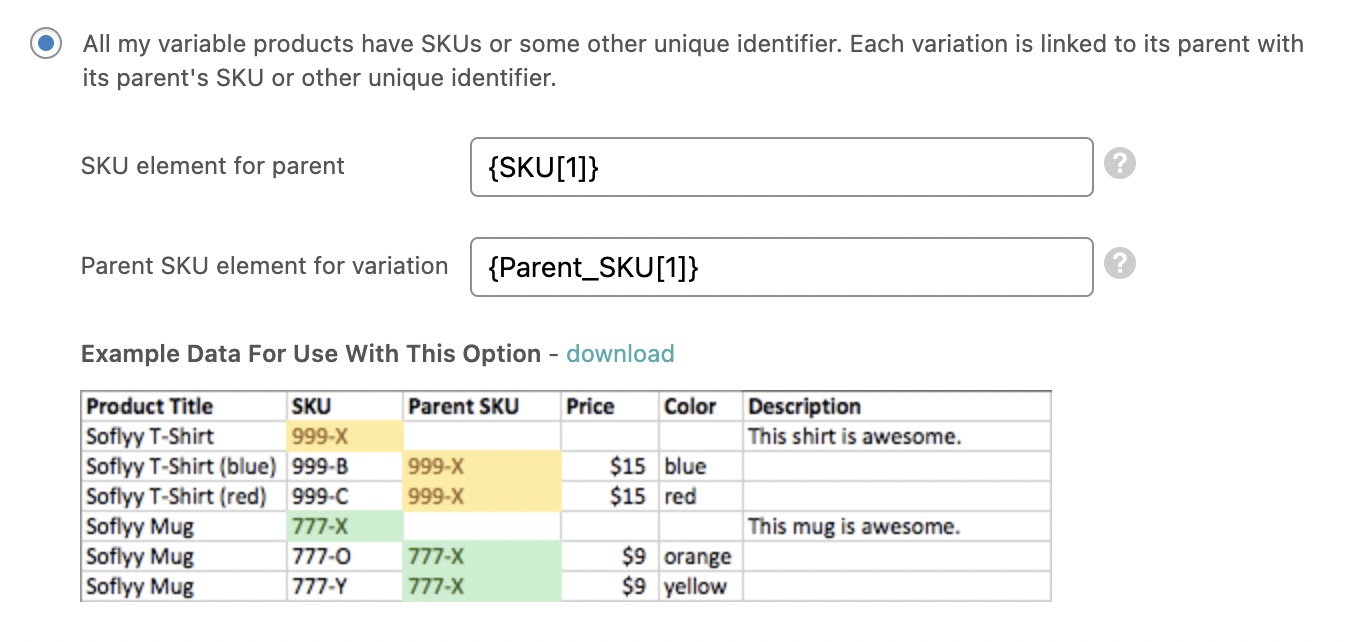
In this example, you’ll notice there are two products (a Soflyy Mug and a Soflyy T-Shirt) with two variations each (based on Color).
Our file contains both the parent products and the variations in this example.
The variations are grouped to their parent products using the SKU and Parent SKU columns. We can use the Parent SKU column to tell WP All Import to assign the variations to the parent product with an SKU that is the same as the variation’s Parent SKU.
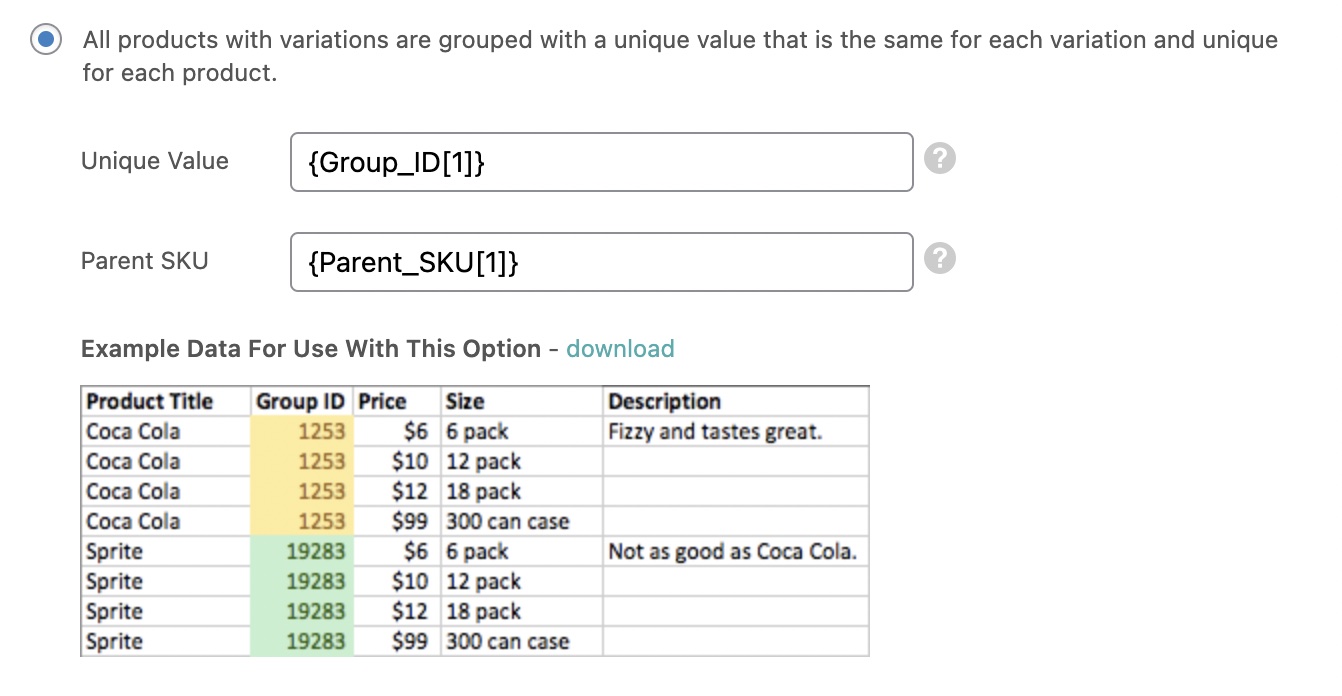
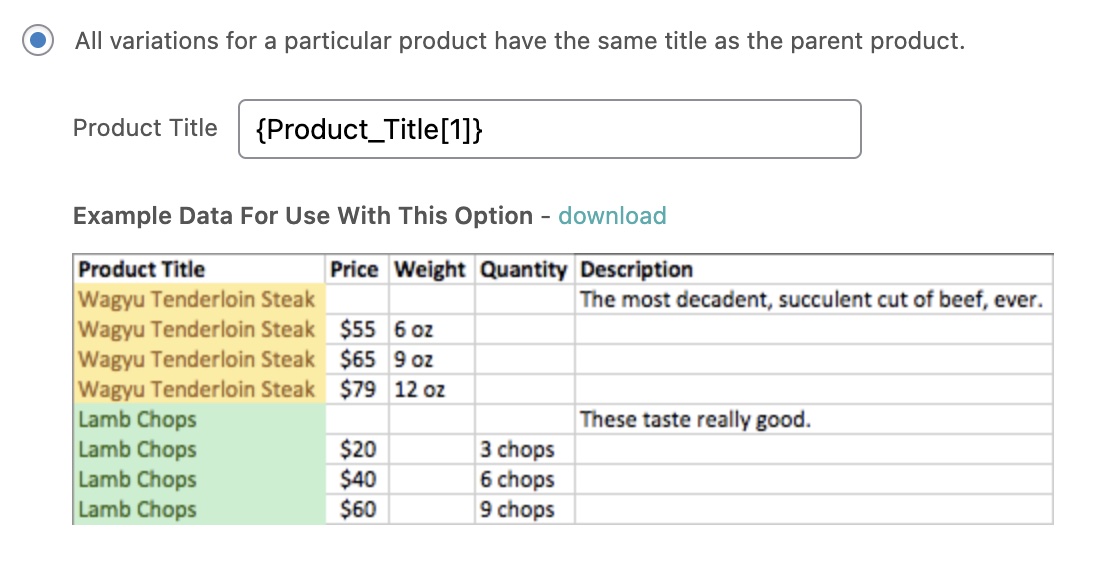
Here, there are two products (Coca-Cola and Sprite) with four variations each (based on Size). There are no parent products, but the variations are grouped together with the Group ID column.
Since WooCommerce requires parent products, WP All Import will automatically create the parent products for us. We can use the Group ID column to tell the plugin to group all the variations with the same Group ID into a single variable product.
Selecting this setting will enable the Manage stock? and Stock status options inside this same tab.