
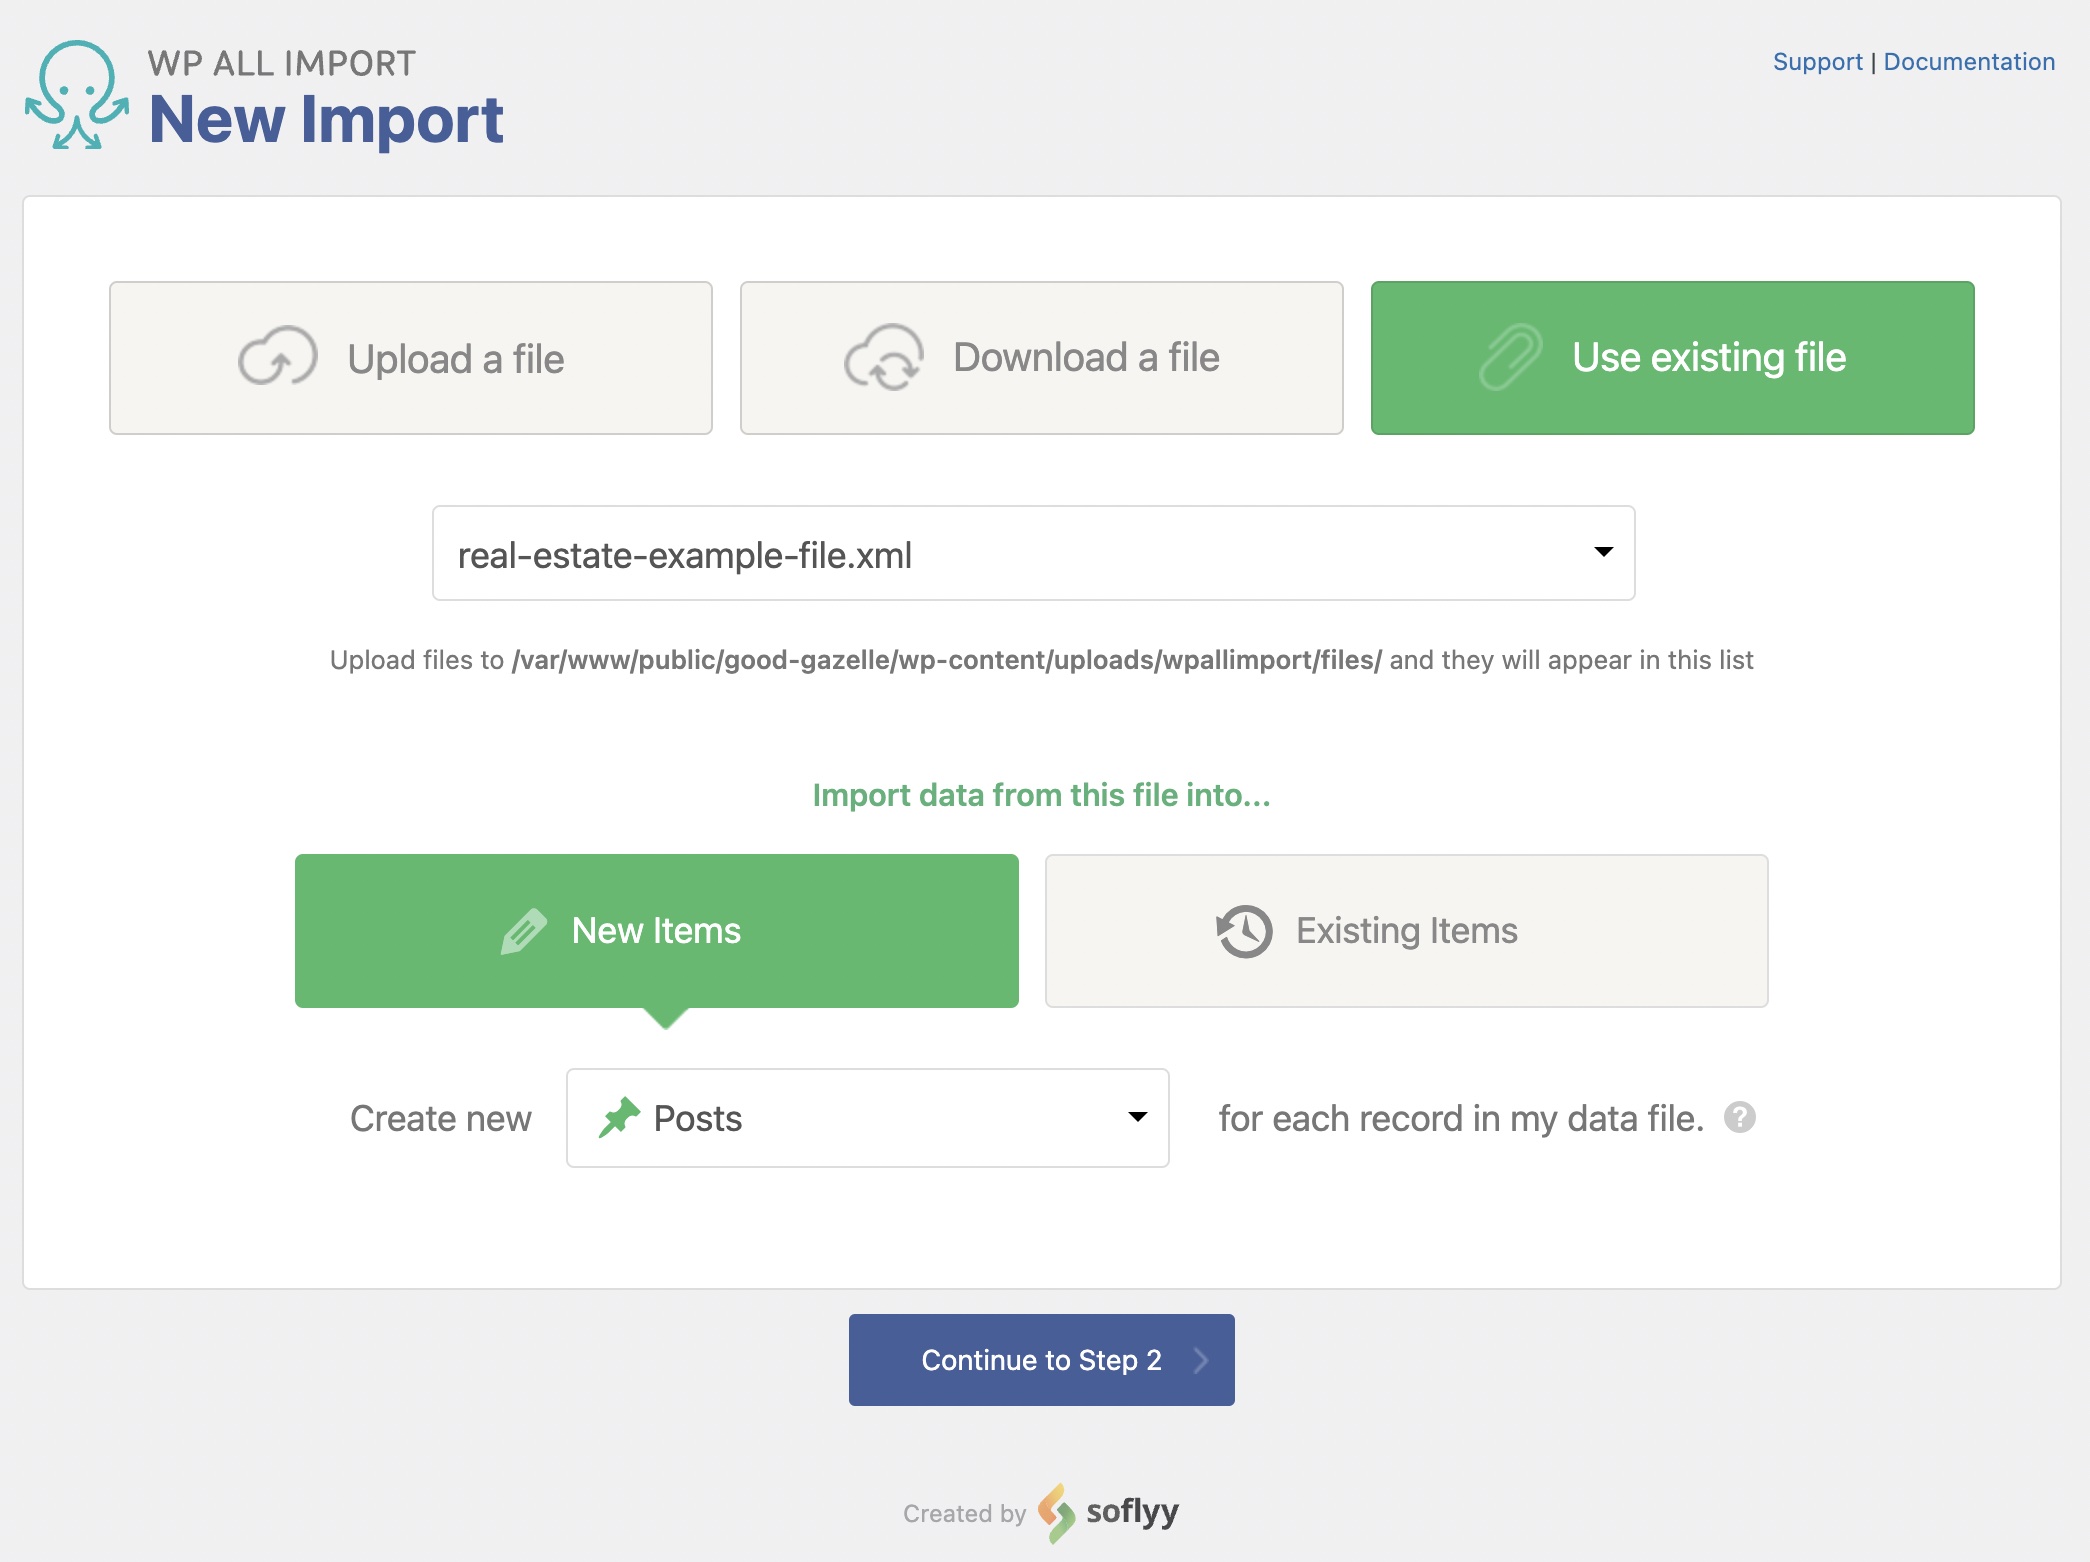
The first step to creating a WordPress import is to upload your import file via All Import › New Import. You can choose to upload the file from your computer, paste in a URL to the file, or choose an existing file that you've already used with WP All Import.
Next, choose either New Items or Existing Items. If you are importing data from your file into posts that are already on your site, select Existing Items. Otherwise, select New Items.
Finally, you need to decide what you want to import. You can import Posts, Pages, Taxonomies, Users, or custom post types added by other themes and plugins like WooCommerce Products.
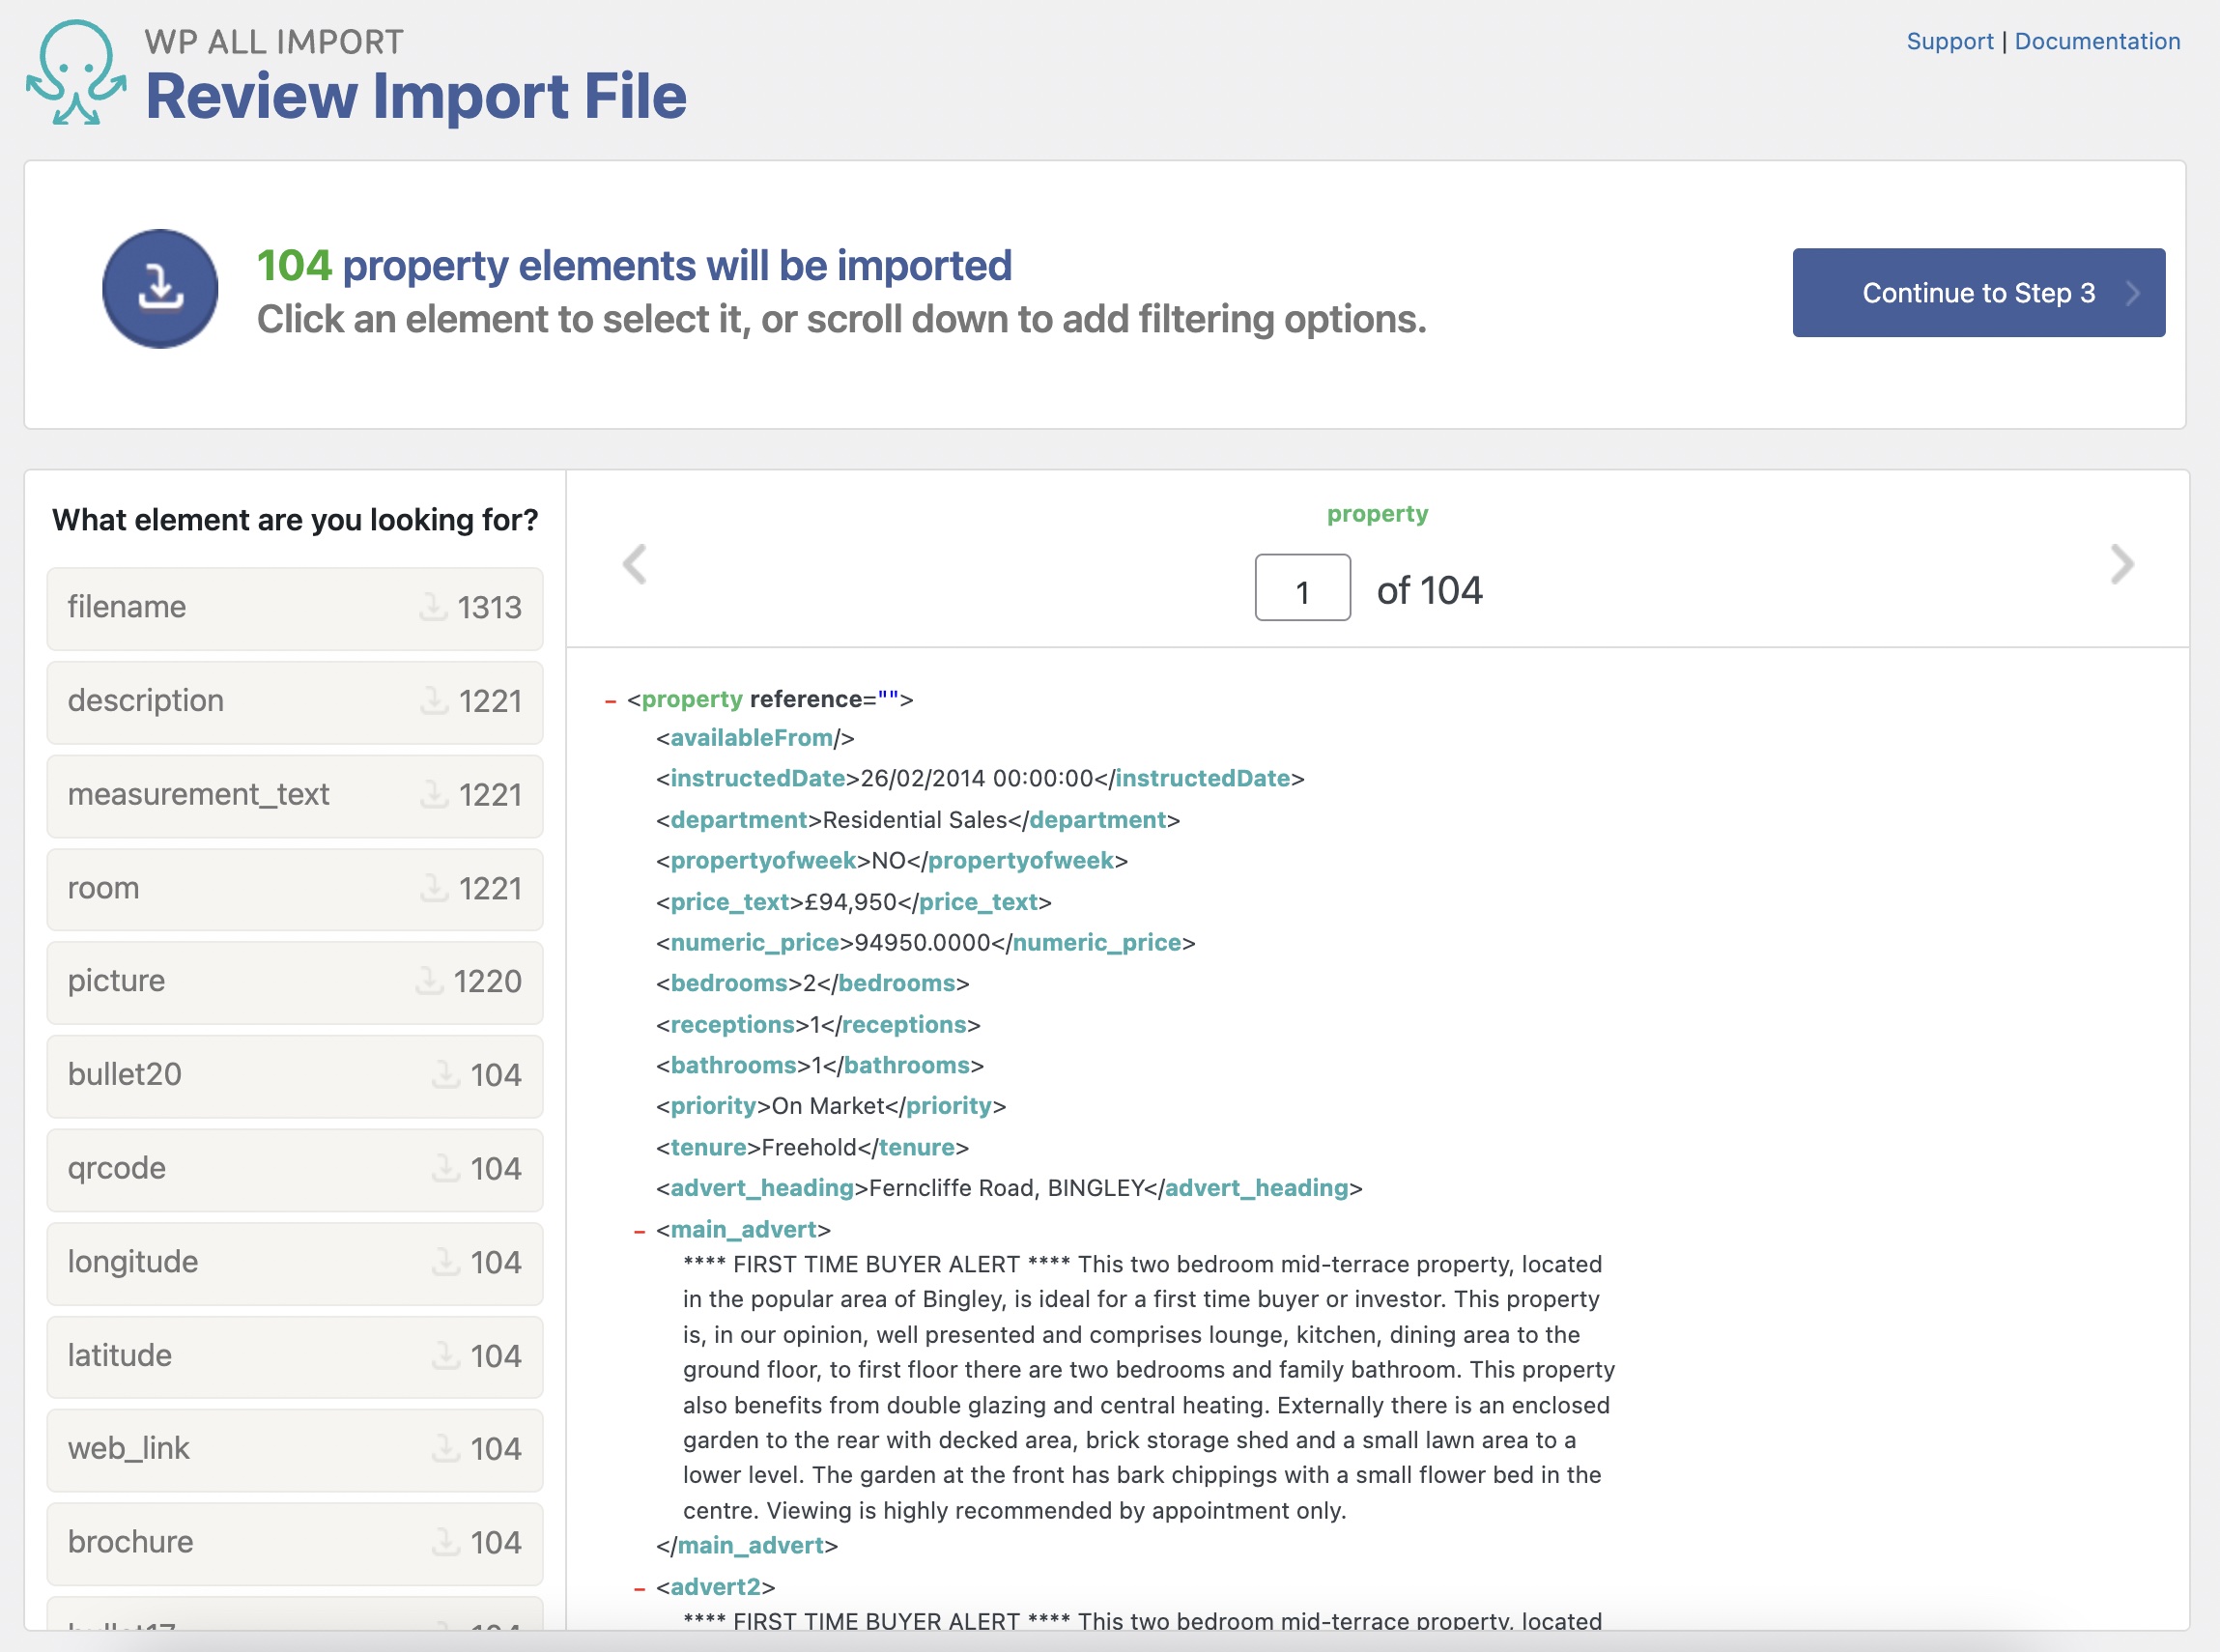
WP All Import will process your file and prepare it for import. If you uploaded a CSV, check that the correct delimiter was used. When you upload an XML file, check that the correct node is selected.
If you only want to import some of the records in your import file, you can add filters under Manage Filtering Options.
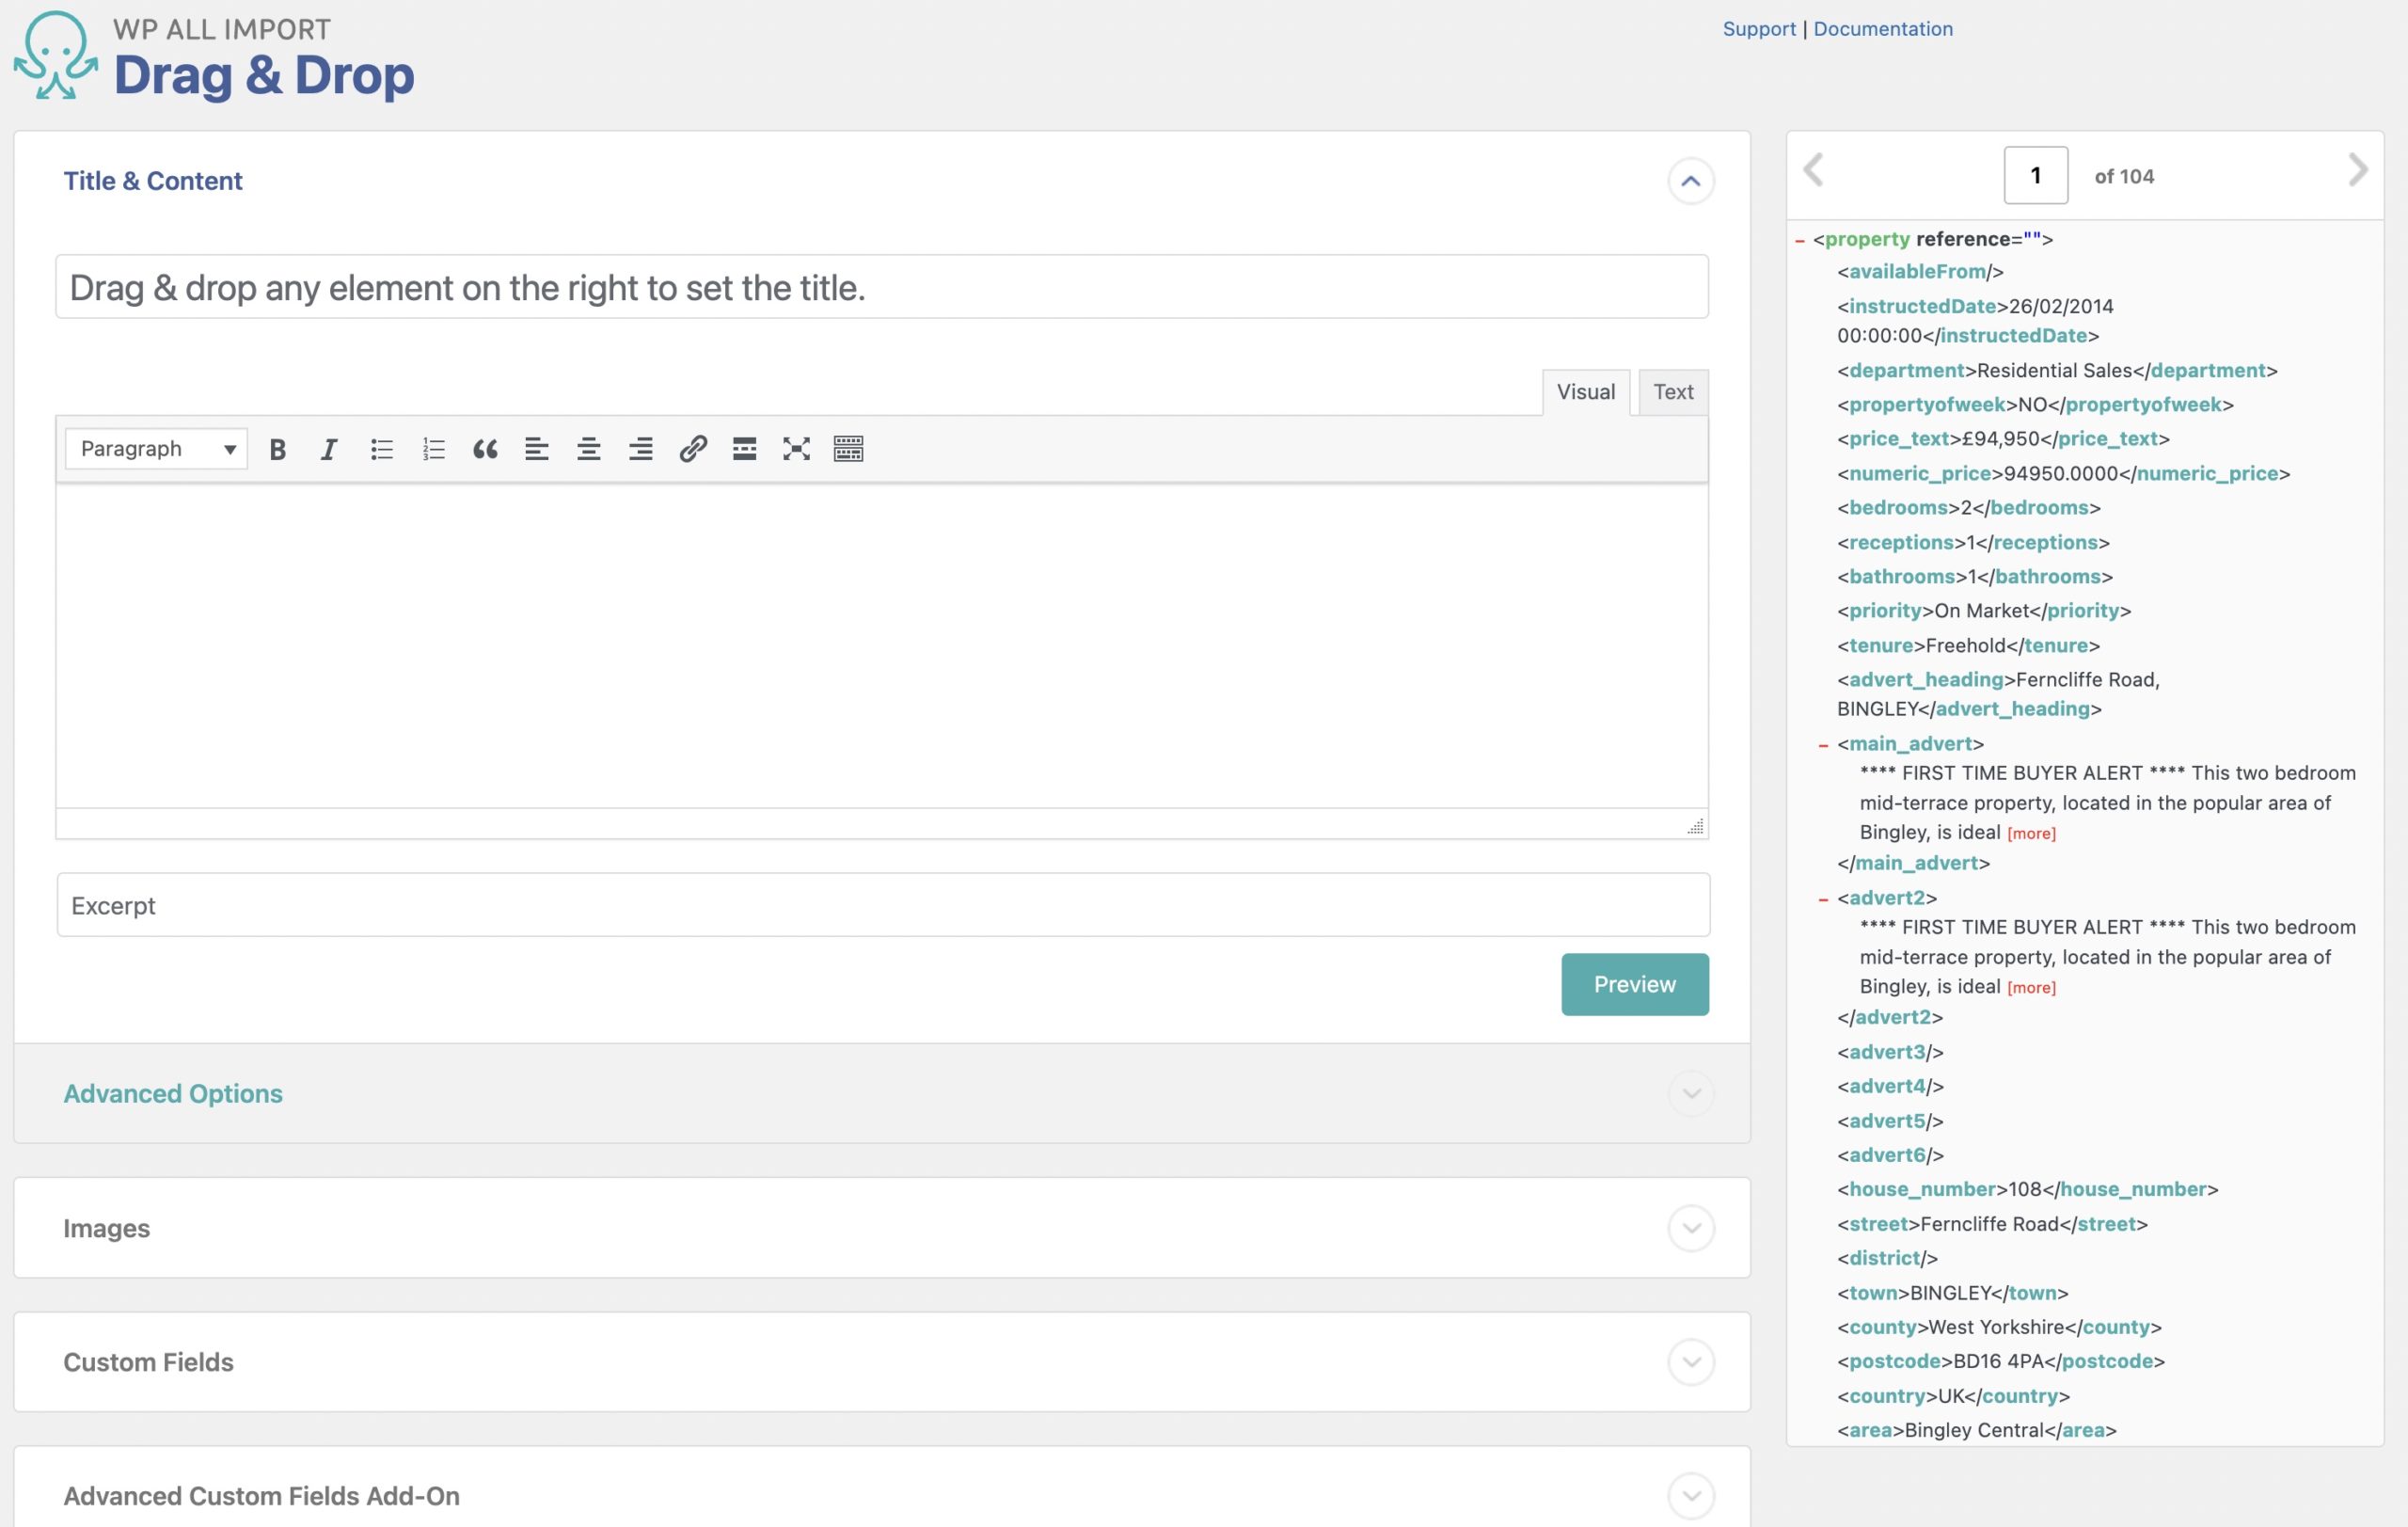
Click Continue to Step 3 to carry on with your WordPress import.
Every column or element from your import file will be displayed on the right. On the left, you have your import. WP All Import will create posts using the import template you create here. Simply drag your WordPress import data from right to left. You can fill in as many or as few of the fields as you like depending on your needs.
Here you can tell WP All Import how to handle each specific piece of data. For example, you can have it only add new images to posts, or just update the stock and price for your products.
You can also configure this import to run on a schedule and other advanced options.
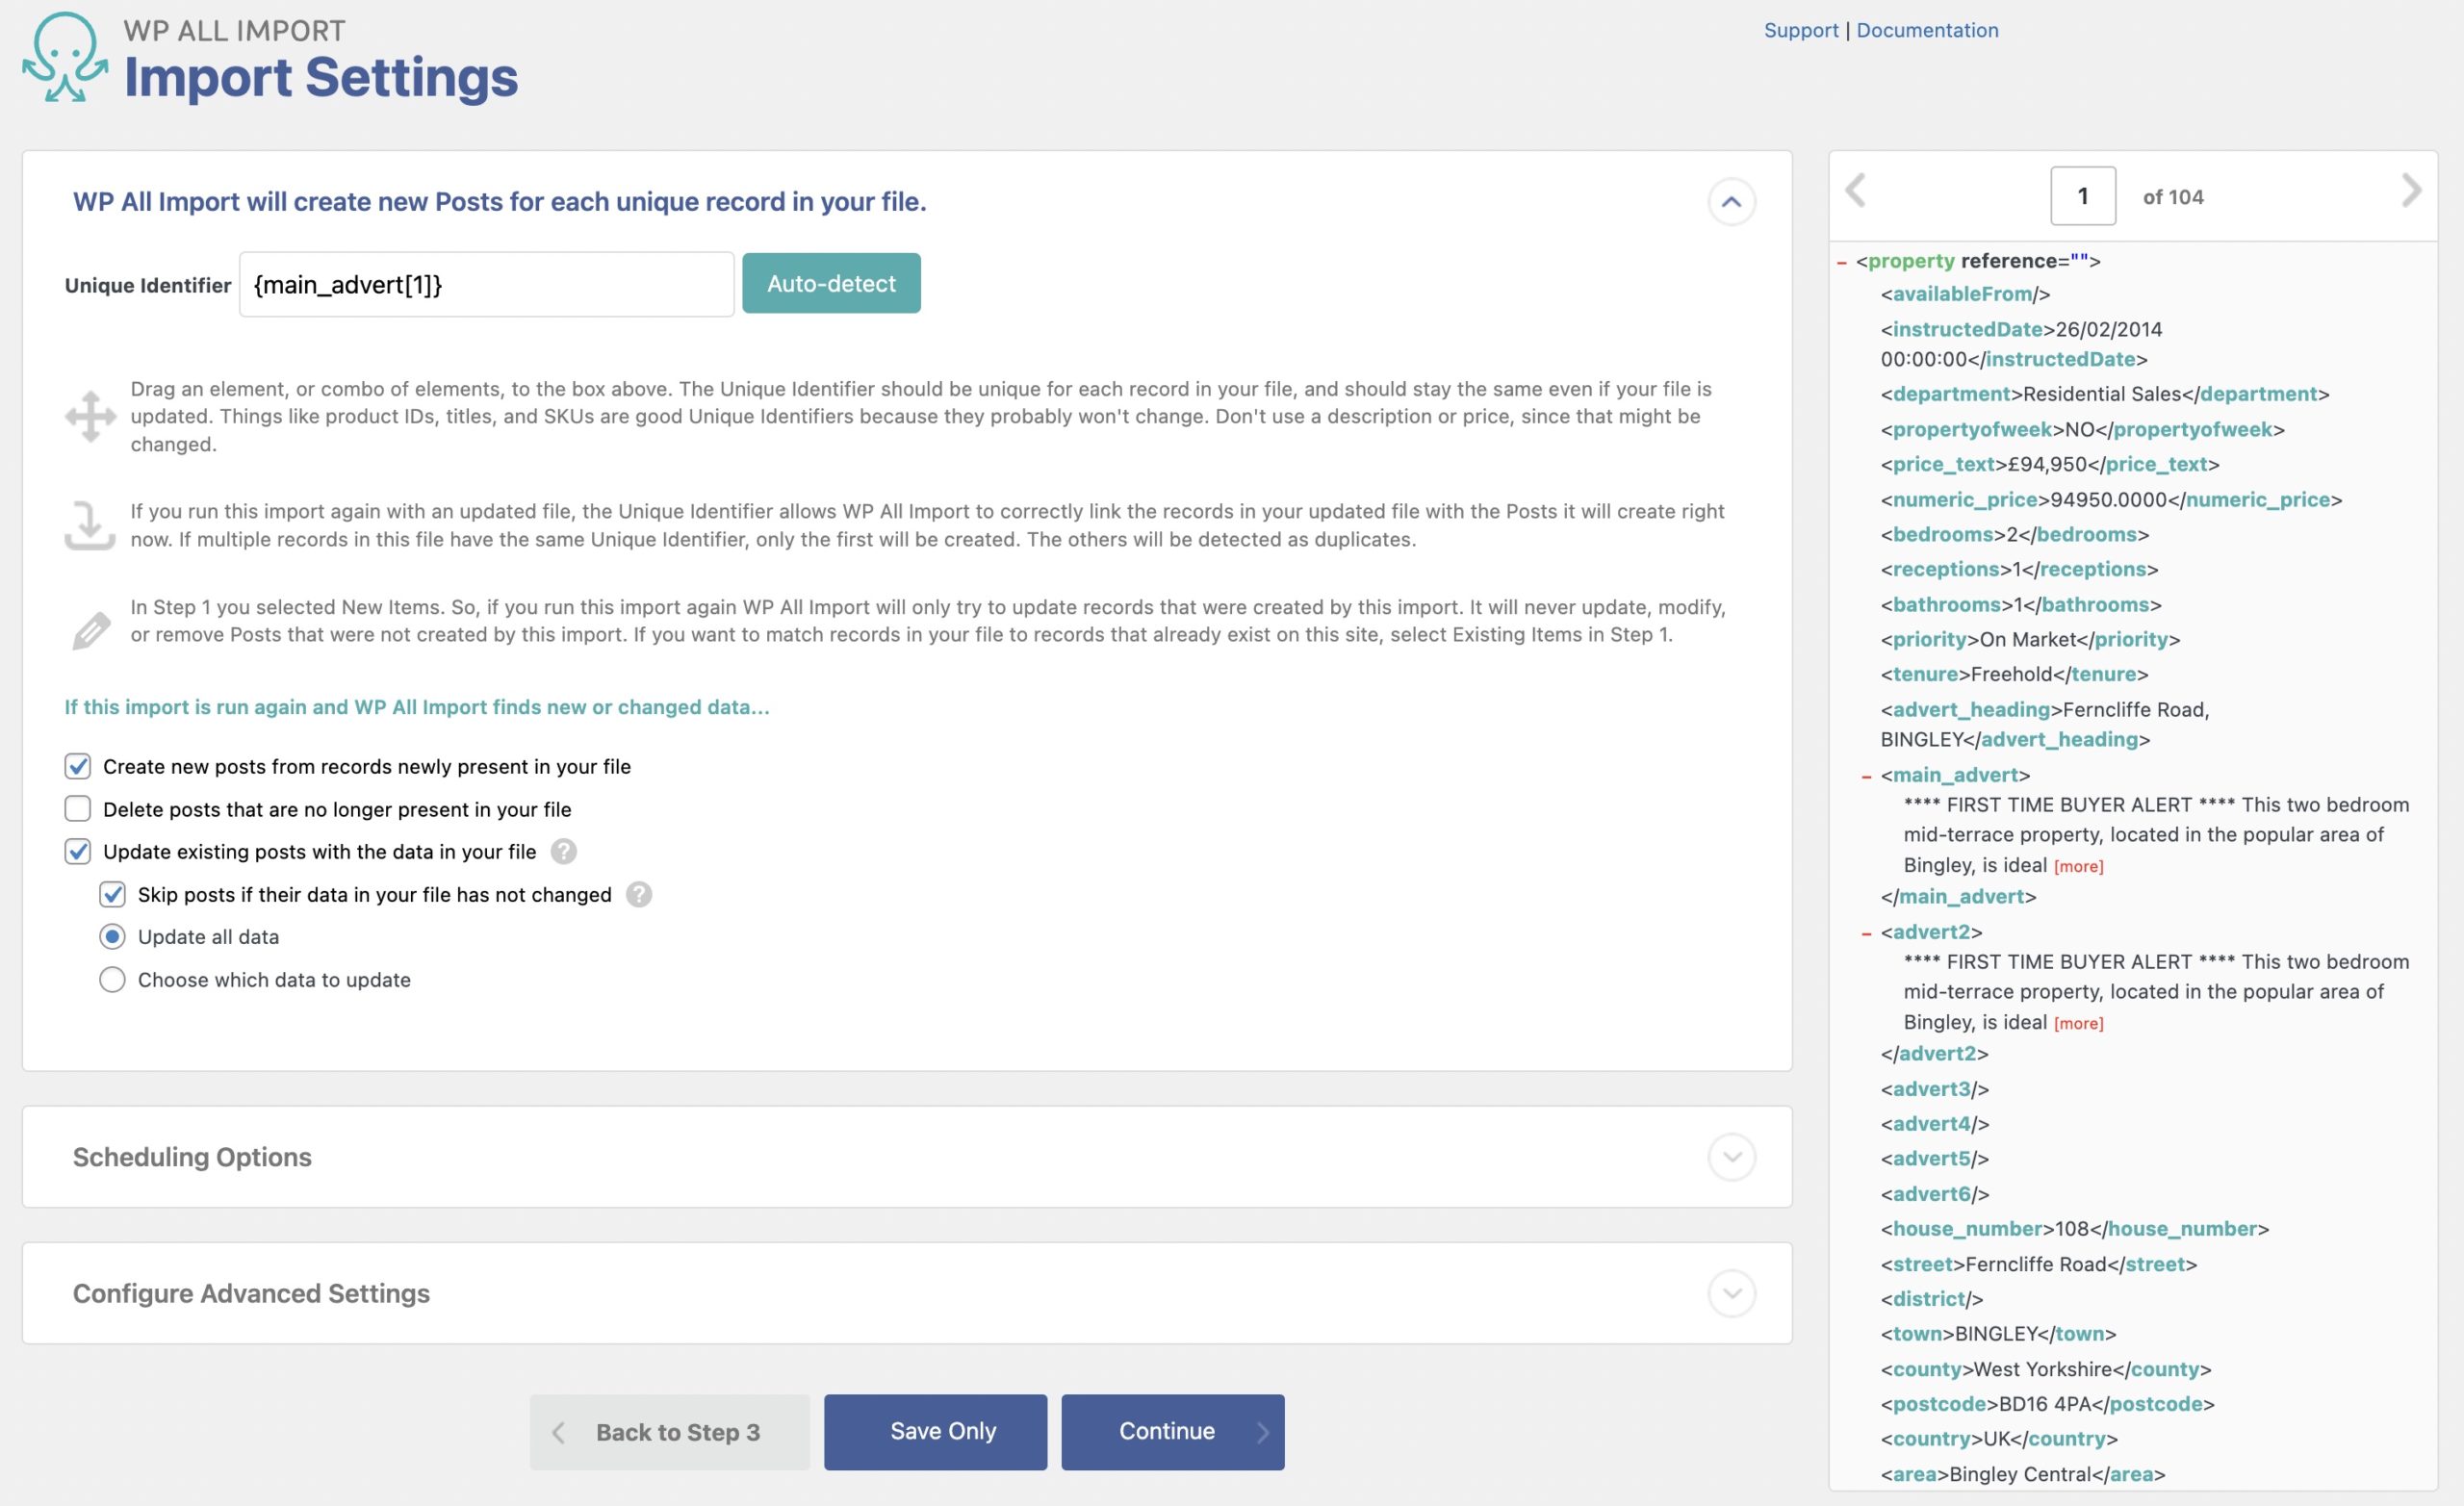
Click Continue at the end to run your WordPress import.
Now it's time to run your import. You will see an Import Summary section where you can review all import settings and a description of what will happen. To run the import, click on Confirm & Run Import.
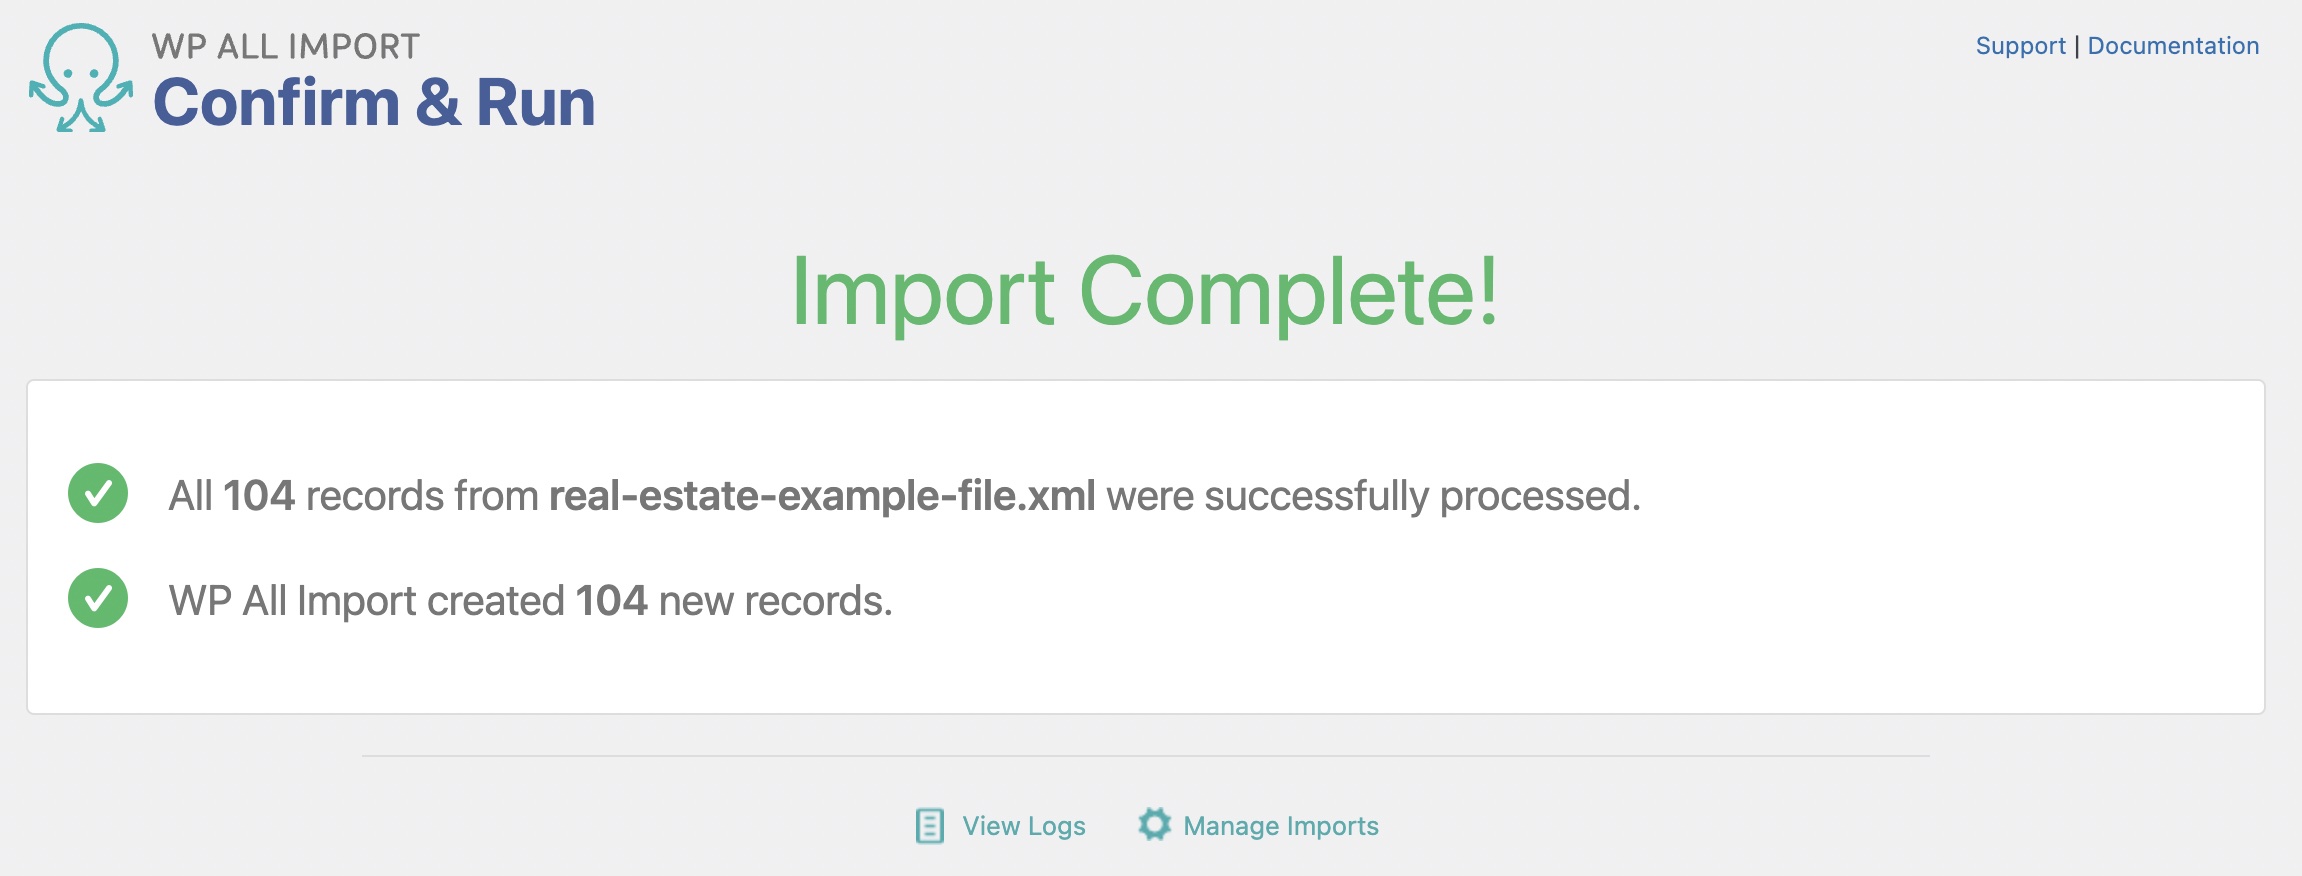
Once the import is complete, you'll see an Import Complete! message.
You can import WordPress data granularly using WP All Import with its visual built-in filtering options. This is done in Step 2 when reviewing the WordPress data to import, or in the Edit Template page when modifying an import. Here's what to do:
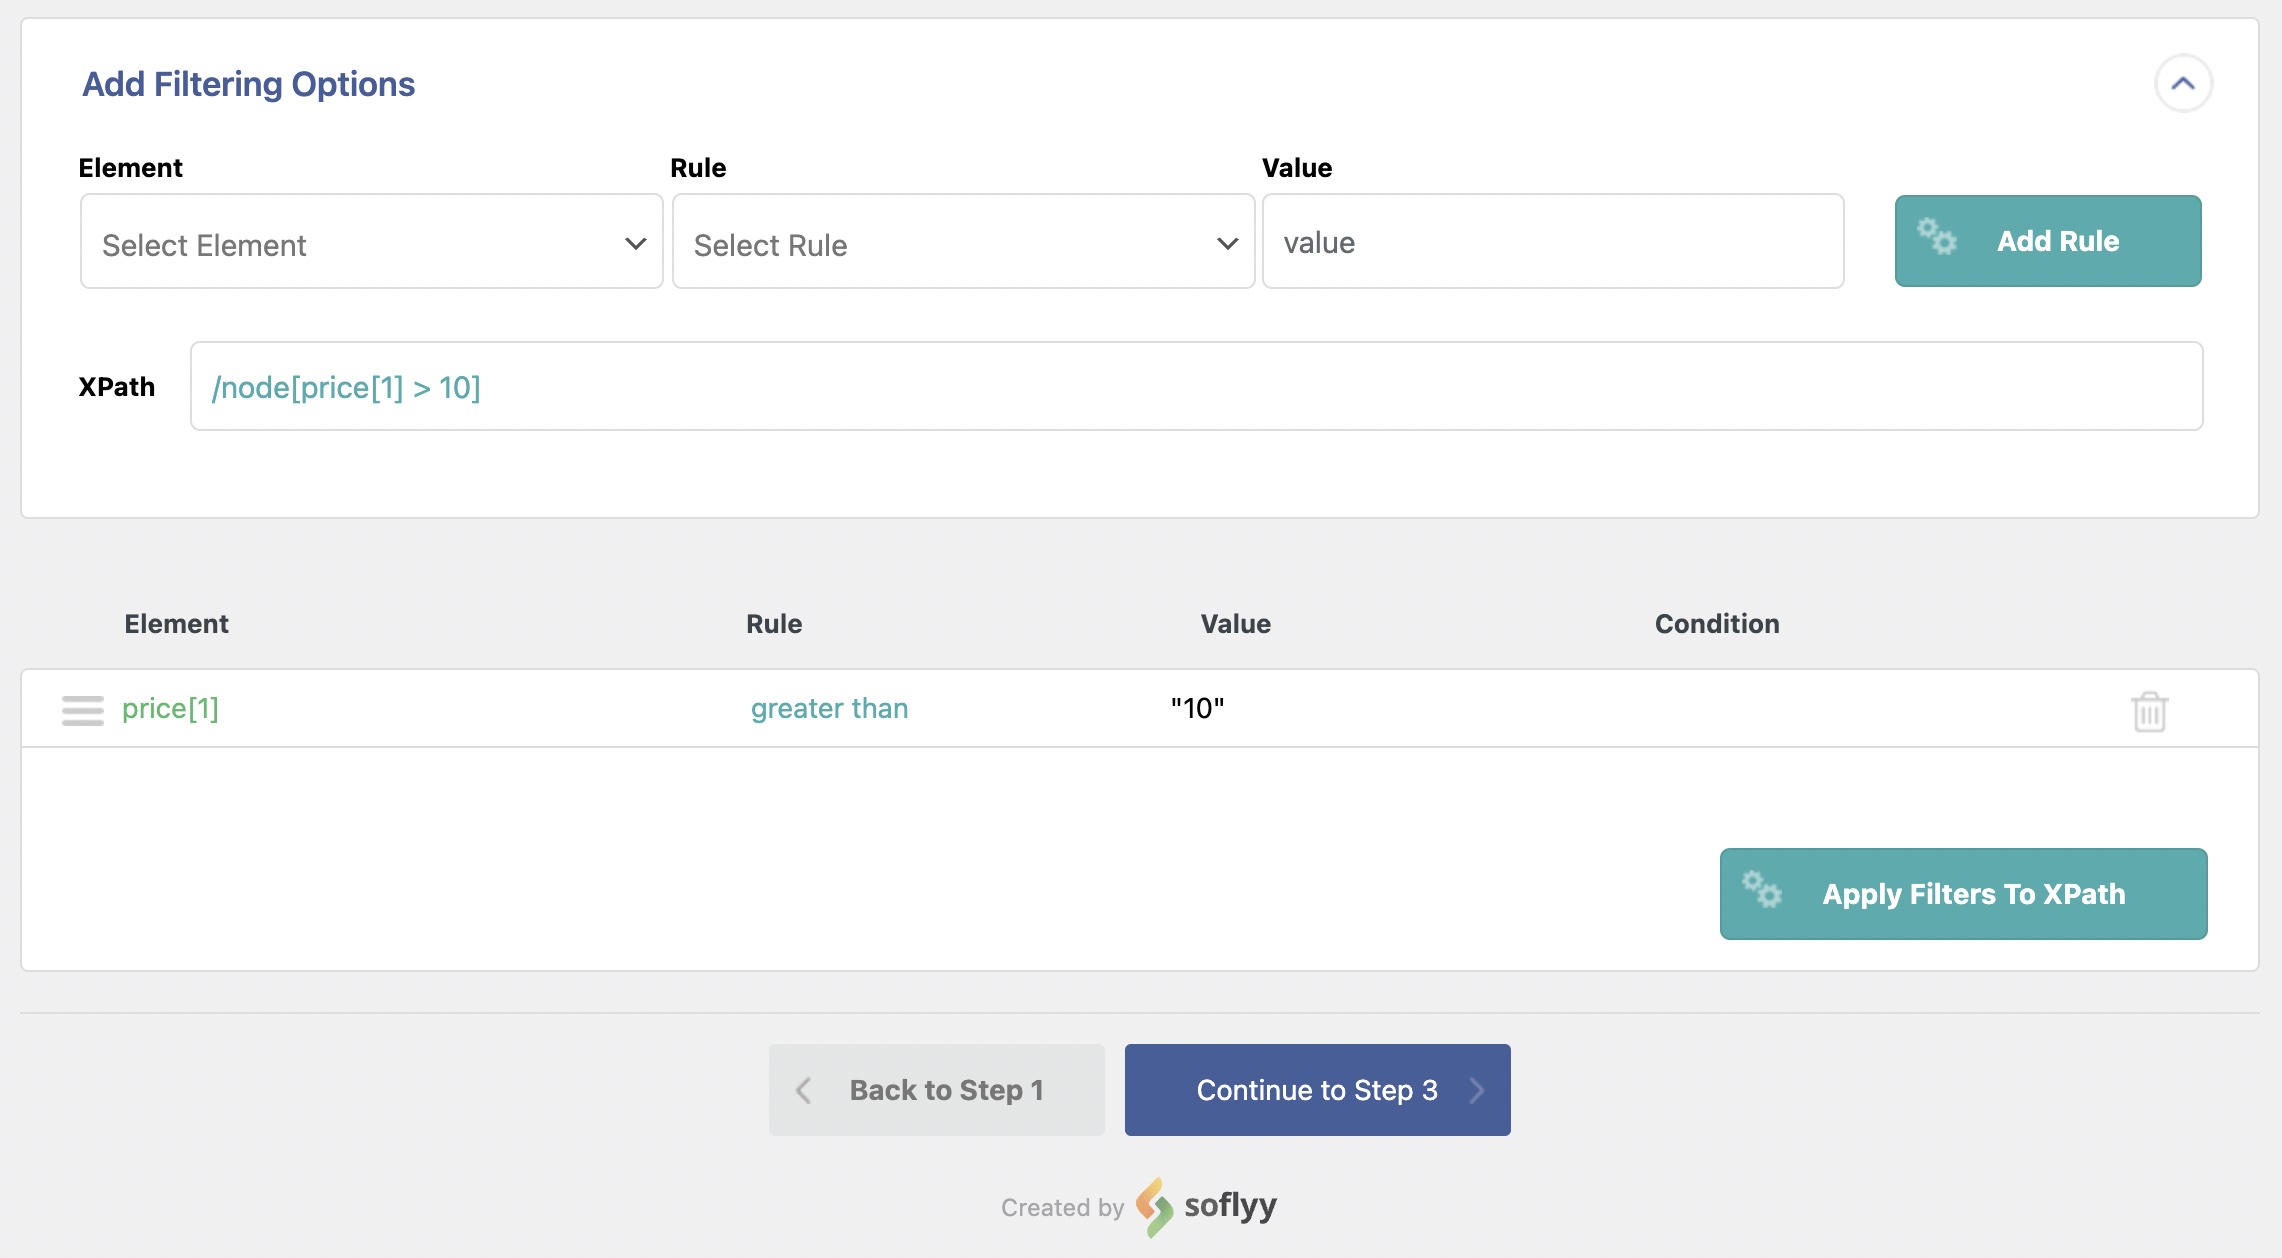
You can learn more about filtering here: Filtering with XPath.
Modifying the filter for an already existing import is done in the same way that you created the filter:
WP All Import provides full control over the WordPress import process. This means that there's also a way to save the existing import template and settings to apply to a different/new/future import process. To save an import template, do the following:

That's it! The template will be saved once you continue to the next step or save/update the template.
To load a saved template, do the following:
You can manage saved import templates via All Import › Settings › Import/Export Templates.
You can schedule your WordPress import using WP All Import and its built-in options. Here's what you can do:
While we don't have a dedicated option to do this, the closest thing to duplicating the whole import is to visit the Settings page for the import, then download the Import Bundle from the Configure Advanced Settings section:
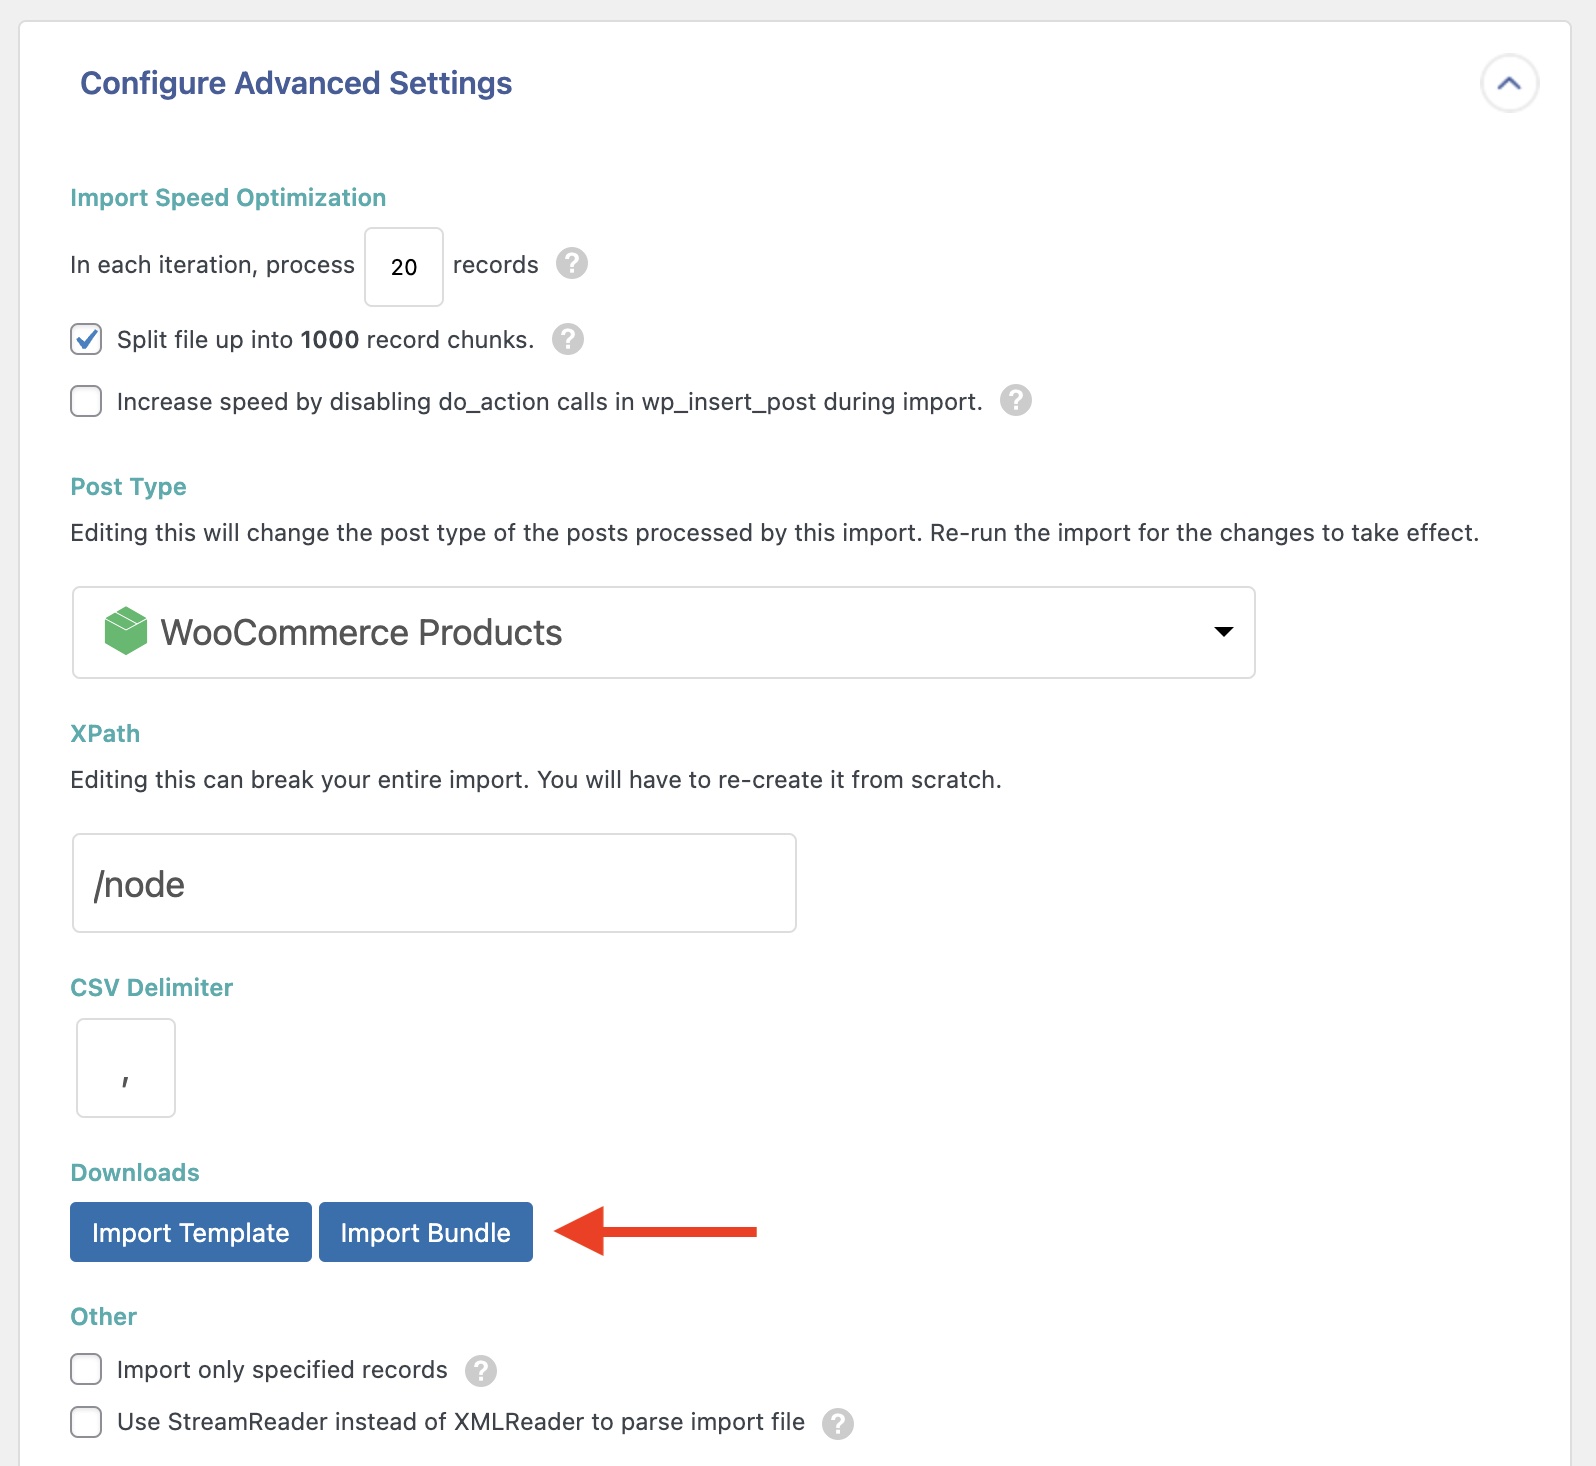
You can then upload that bundle in a new import. You will still need to set filtering rules in Step 2 (if you desire to filter records), but the rest of the fields are populated for you.
